All products featured are independently chosen by us. However, SoundGuys may receive a commission on orders placed through its retail links. See our ethics statement.
How to start a podcast at home
August 23, 2021
Don’t listen to the haters, this is a perfect time to start a podcast. It doesn’t look like they’re going anywhere for the time being, and if you’ve been tossing around an idea for a podcast then what do you have to lose? Storytelling is one of the oldest art forms, and thanks to technology you can now record something in your room and have it heard by thousands of people all over the world, if not millions. So if you’re wondering how to record a podcast at home, this is for you.
Editor’s note: This guide was updated on August 23, 2021, to match style with SoundGuys’ current standards.
First, come up with a topic
This may seem like a no-brainer, but if you don’t know what you want to talk about then don’t bother reading on. Take some time for reflection and figure out what it is that you’re passionate about and figure out what about your point of view would make your podcast interesting. If you have a truly great story or great ideas to share, it won’t matter if you record it on an old cell phone from ’06 or a brand new $1000 microphone. Of course, we’ll get into the technical aspect in a bit, but story first, gear second.
Related: How to write a song
How to acoustically treat your room
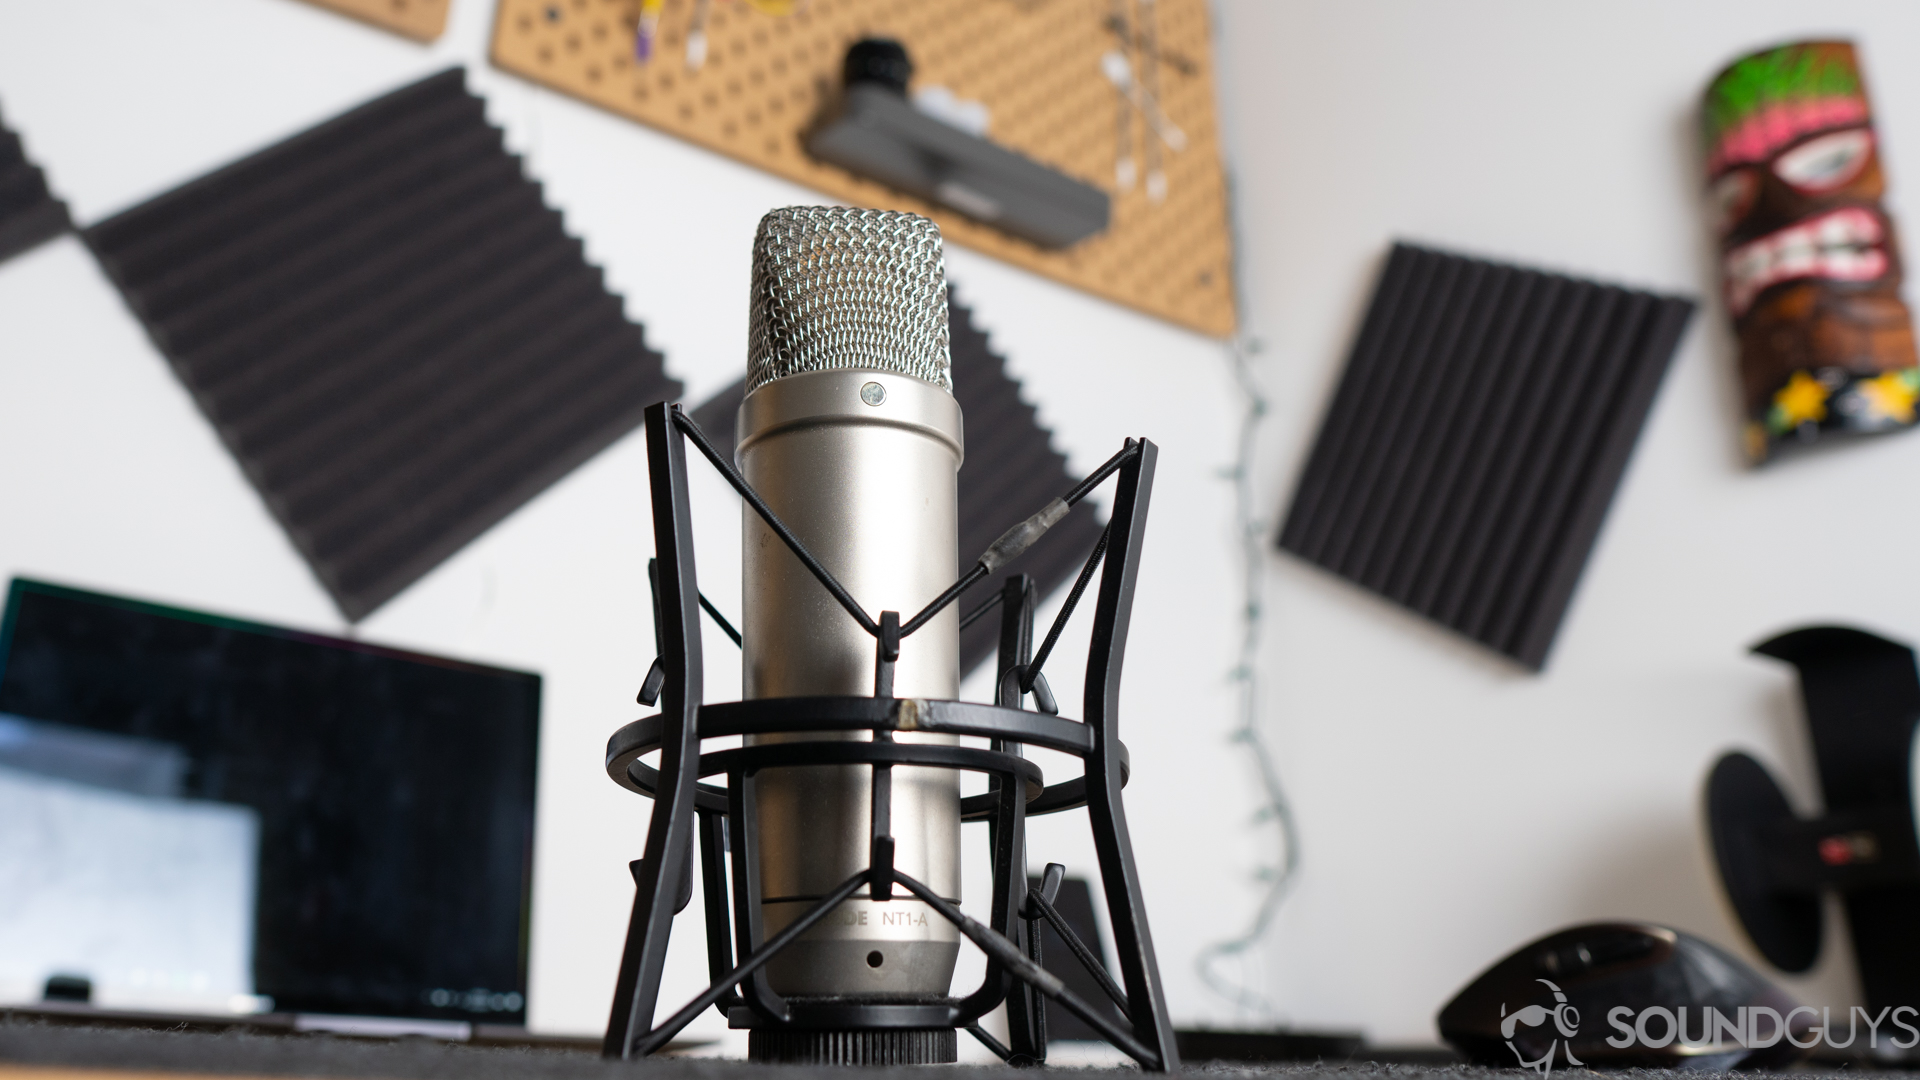
You’ll want to start by optimizing your space with acoustic treatment to podcast at home. This is the most important part, and it’s often overlooked by beginners.
If you’ve ever yelled into a cave or tunnel, you know sound waves reflect off the walls and come back with vengeance. That echo you get from speaking in a large, empty room is precisely what you want to avoid if you’re recording a podcast from home. To make your designated recording area fit to work with audio, what you need to do is minimize those echoes and sound reflections. This is called “treating the room,” and will make more of a difference to your finished product than you might expect. Here a few ways to treat your home:
- Bass traps. Arguably the most important thing you need to do is make sure that sound can’t bounce around the corners of your room. This can amplify sounds and cause problems if your microphones pick it up. Adding bass traps to the corners of whatever room you’re recording in will stop the sound waves from reflecting off the corners, making it easier for your microphone to pick up your voice and not the echoes and reverb of the room.
- Foam. Once you’ve got the corners treated, the next thing you might want to do is make sure that the flat surfaces in the room are similarly covered with foam that will absorb the sound waves and keep them from reflecting back into the microphone. This is where those squares of foam that you see all over the internet come in handy.
- Furniture and Rugs. If you can’t get your hands on any foam just yet, it’s fine. While that’s one sure-shot way to treat a room, it isn’t the only way. Just having some basic furniture in the room can seriously reduce reverb. A couch, bed, even some rugs on the floor can help reduce echoes.
- Blanket forts. Never underestimate the power of a good blanket fort. If all else fails, just toss a blanket over your head while you record. It will act to muffle the reflecting sound waves and has even been used by professional reporters recording in the field. If you can only go with one method as a beginner, this is probably the way to go.
- Turn off any air conditioners. The low hum of an AC or fan can be insanely distracting, not to mention that it can cause a noticeable separation in audio if there are more than one person on the podcast. One person can have pristine, perfect audio, but every time the second person talks all you hear is a loud AC in the background. Super annoying.
How do you record a podcast at home?
It’s relatively easy to just record yourself on your phone and call it a day, but the more people you have on mic, the more complicated it gets. It’s even harder if you’re not physically with the person. Once you figure out how many people you need to record and where you all are in relation to each other, then you can get recording.
You should try a USB microphone first
Once you’ve taken steps to mitigate echoes and noise, the next step is to gather your equipment. The first thing you’re going to need is a dedicated microphone, though we recommend limiting your search to microphones that are designed for podcasting. Depending on how deep down this rabbit hole you want to go, you have a lot to choose from. There are some ways to record a podcast with your smartphone’s inbuilt microphone, such as with the podcast-making app Anchor, but the audio quality won’t be as good.
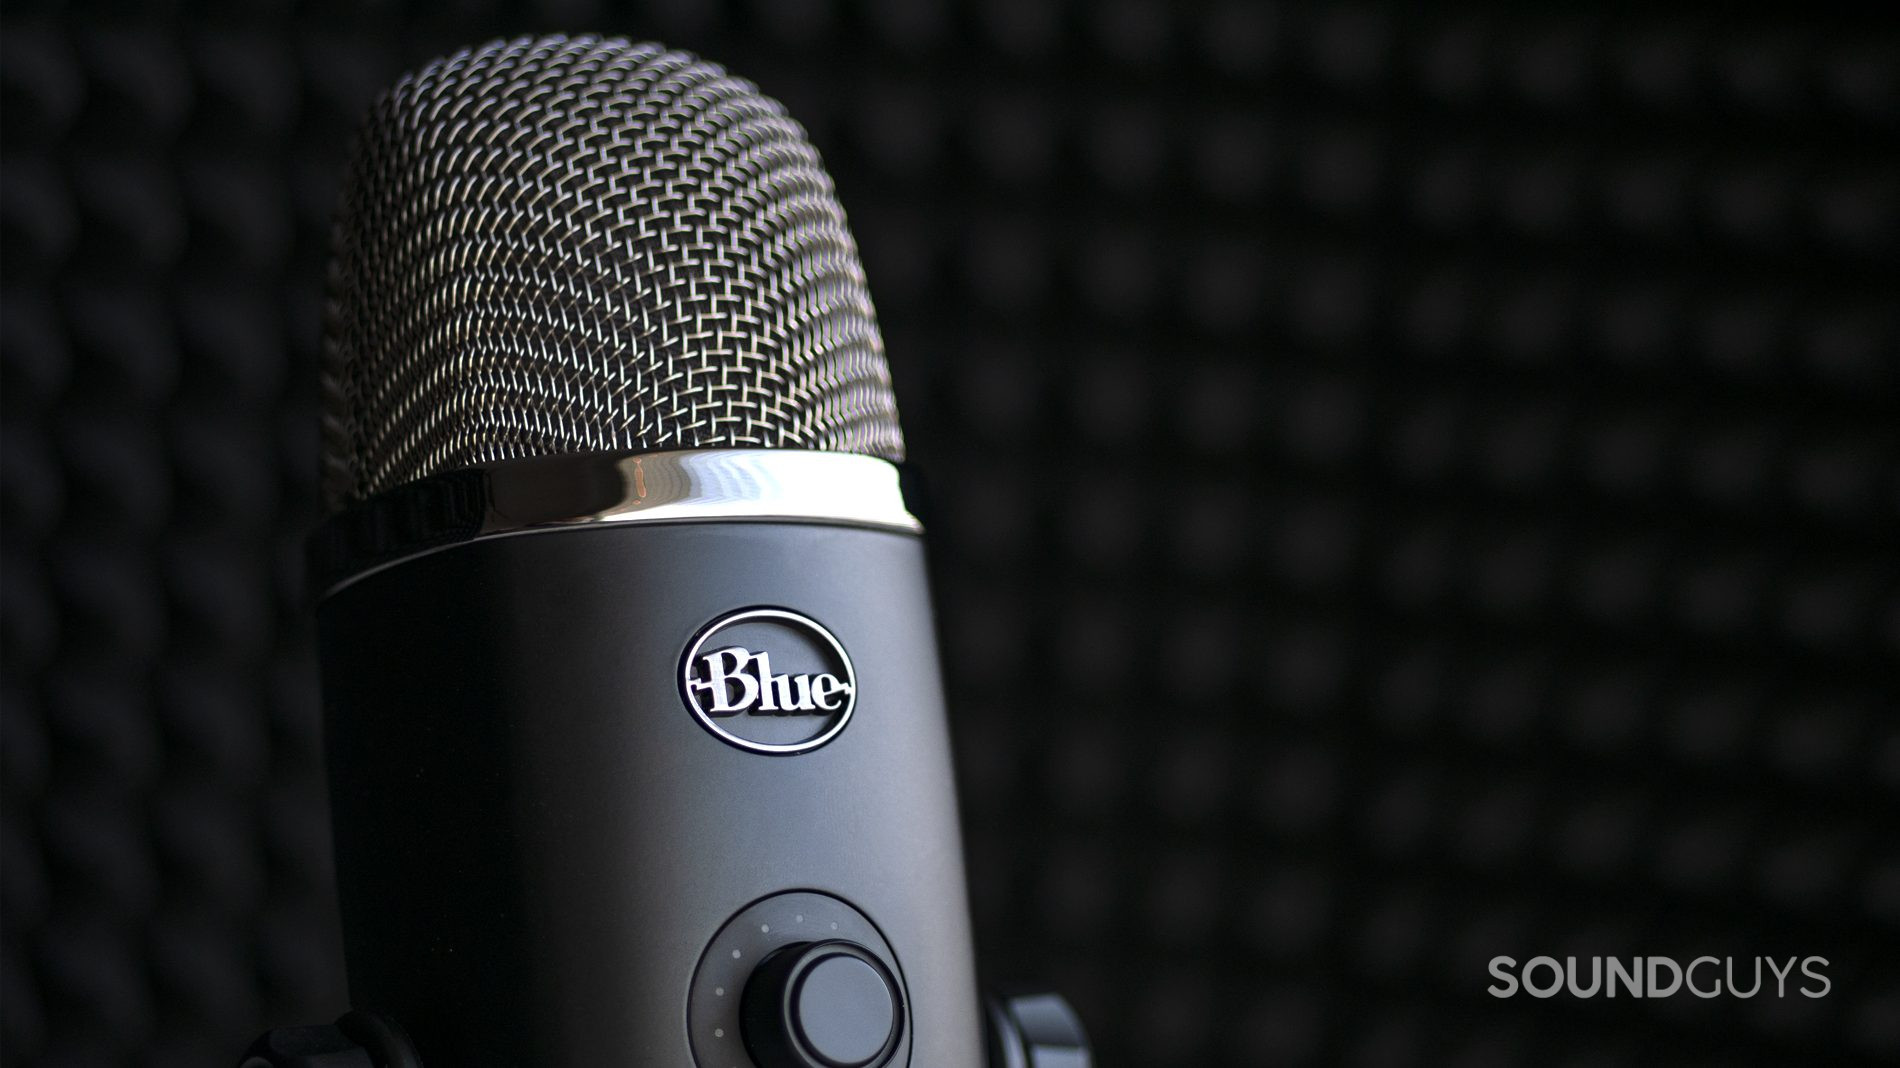
For those that don’t want to do too much work and simply want to plug a microphone into your computer and hit record, then a USB microphone like the Blue Yeti X or Movo UM700 will be your way to go. If you’re just interested in dipping your toe into podcasting, cheaper microphones like the HyperX SoloCast and Razer Seiren Mini might be just right. They’re not great for recording things like music, but they’re dead simple to use, and require little to no extra equipment.
Step it up when you’re ready to XLR microphones
Many USB microphones are more than fine to get your podcast off the ground, but if you’re past that stage or are just ready for an upgrade in quality then you’ll want to go with an XLR microphone. These don’t connect directly to a computer via USB, and instead require an XLR cable and an interface. You plug the XLR mic into one end and then connect the interface to your computer via USB. It will then convert the analog signals coming from the microphone into 1’s and 0’s that can be recorded into a computer.
What audio interface should I get?
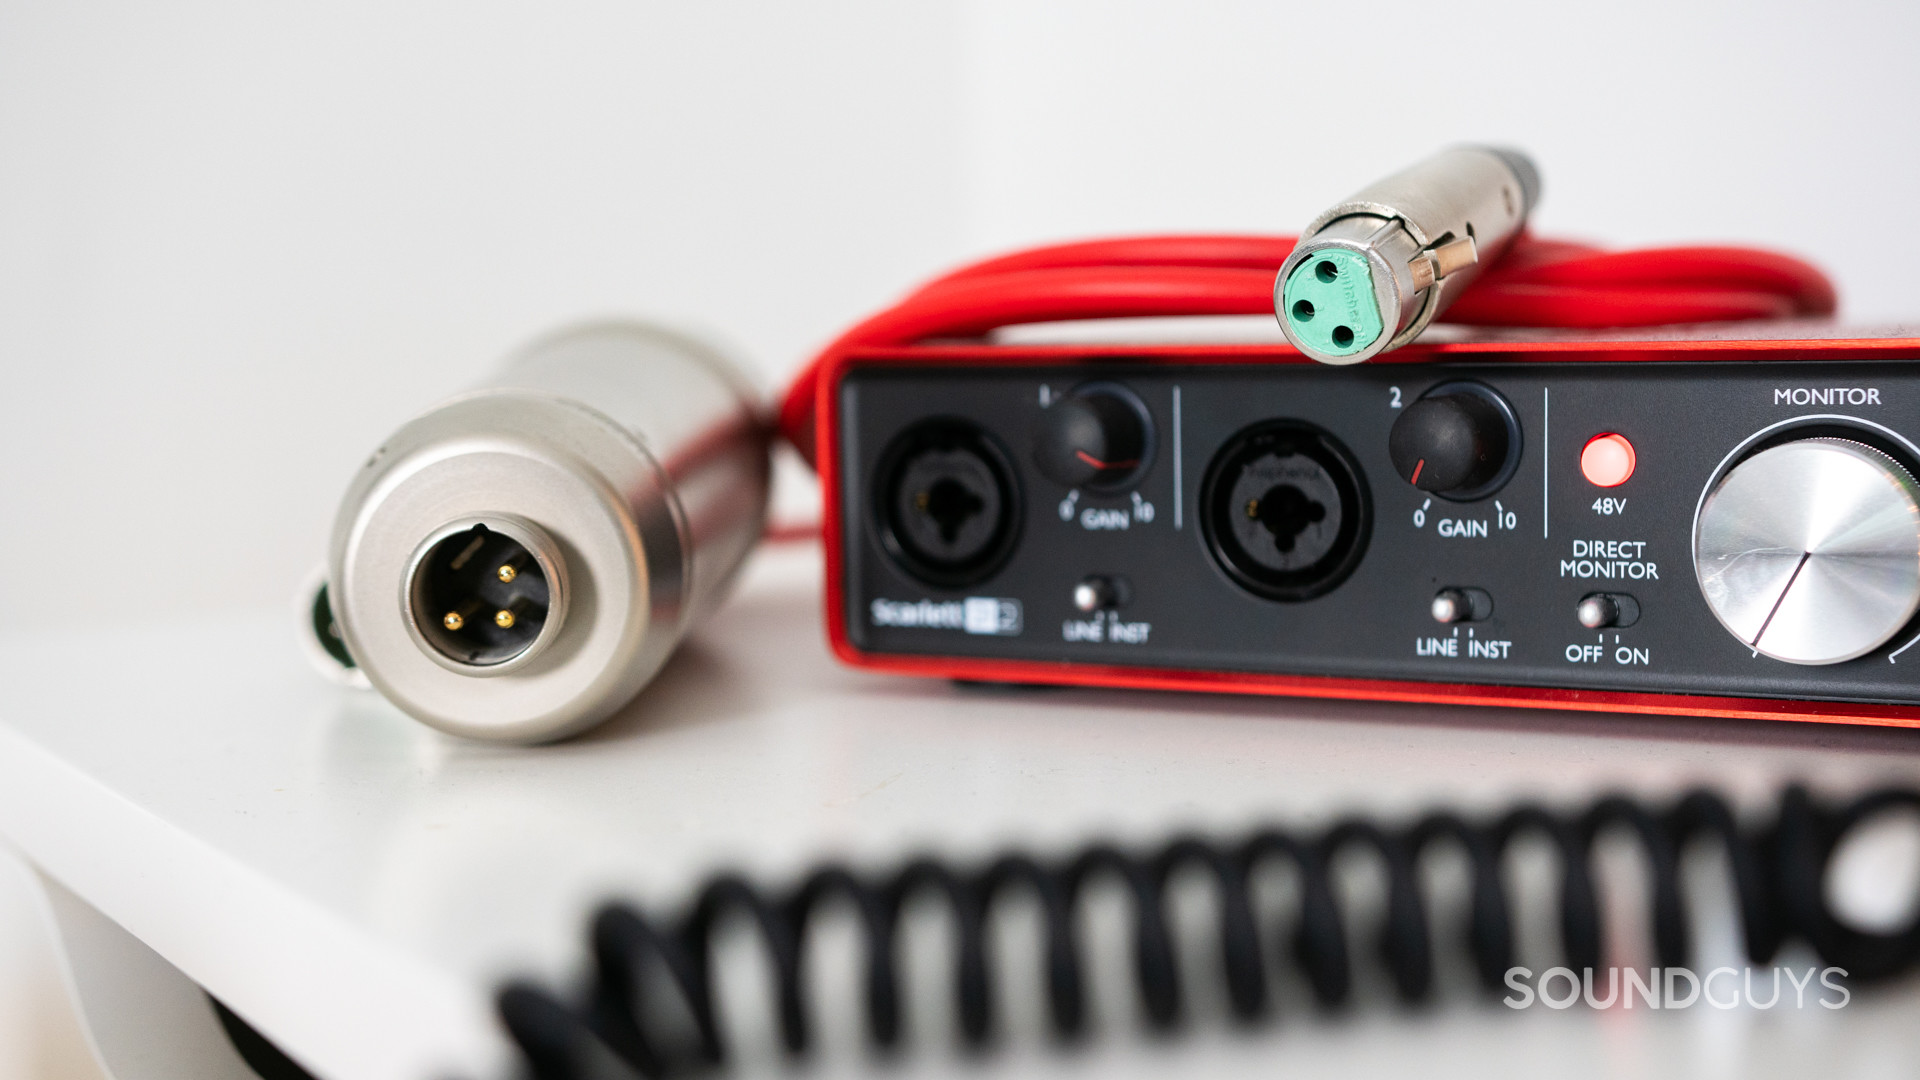
There isn’t really a wrong way to go here, as most interfaces will get the job done—but we cover the best ones anyway. You can always go with a tried and true classic like the Scarlett 2i2 or even something a little more portable like the Evo by Audient which are both inexpensive audio interfaces that you can plug an XLR microphone into. Going with an XLR microphone for better sound quality means spending some extra money.
What else do you need to podcast at home?
Headphones are necessary
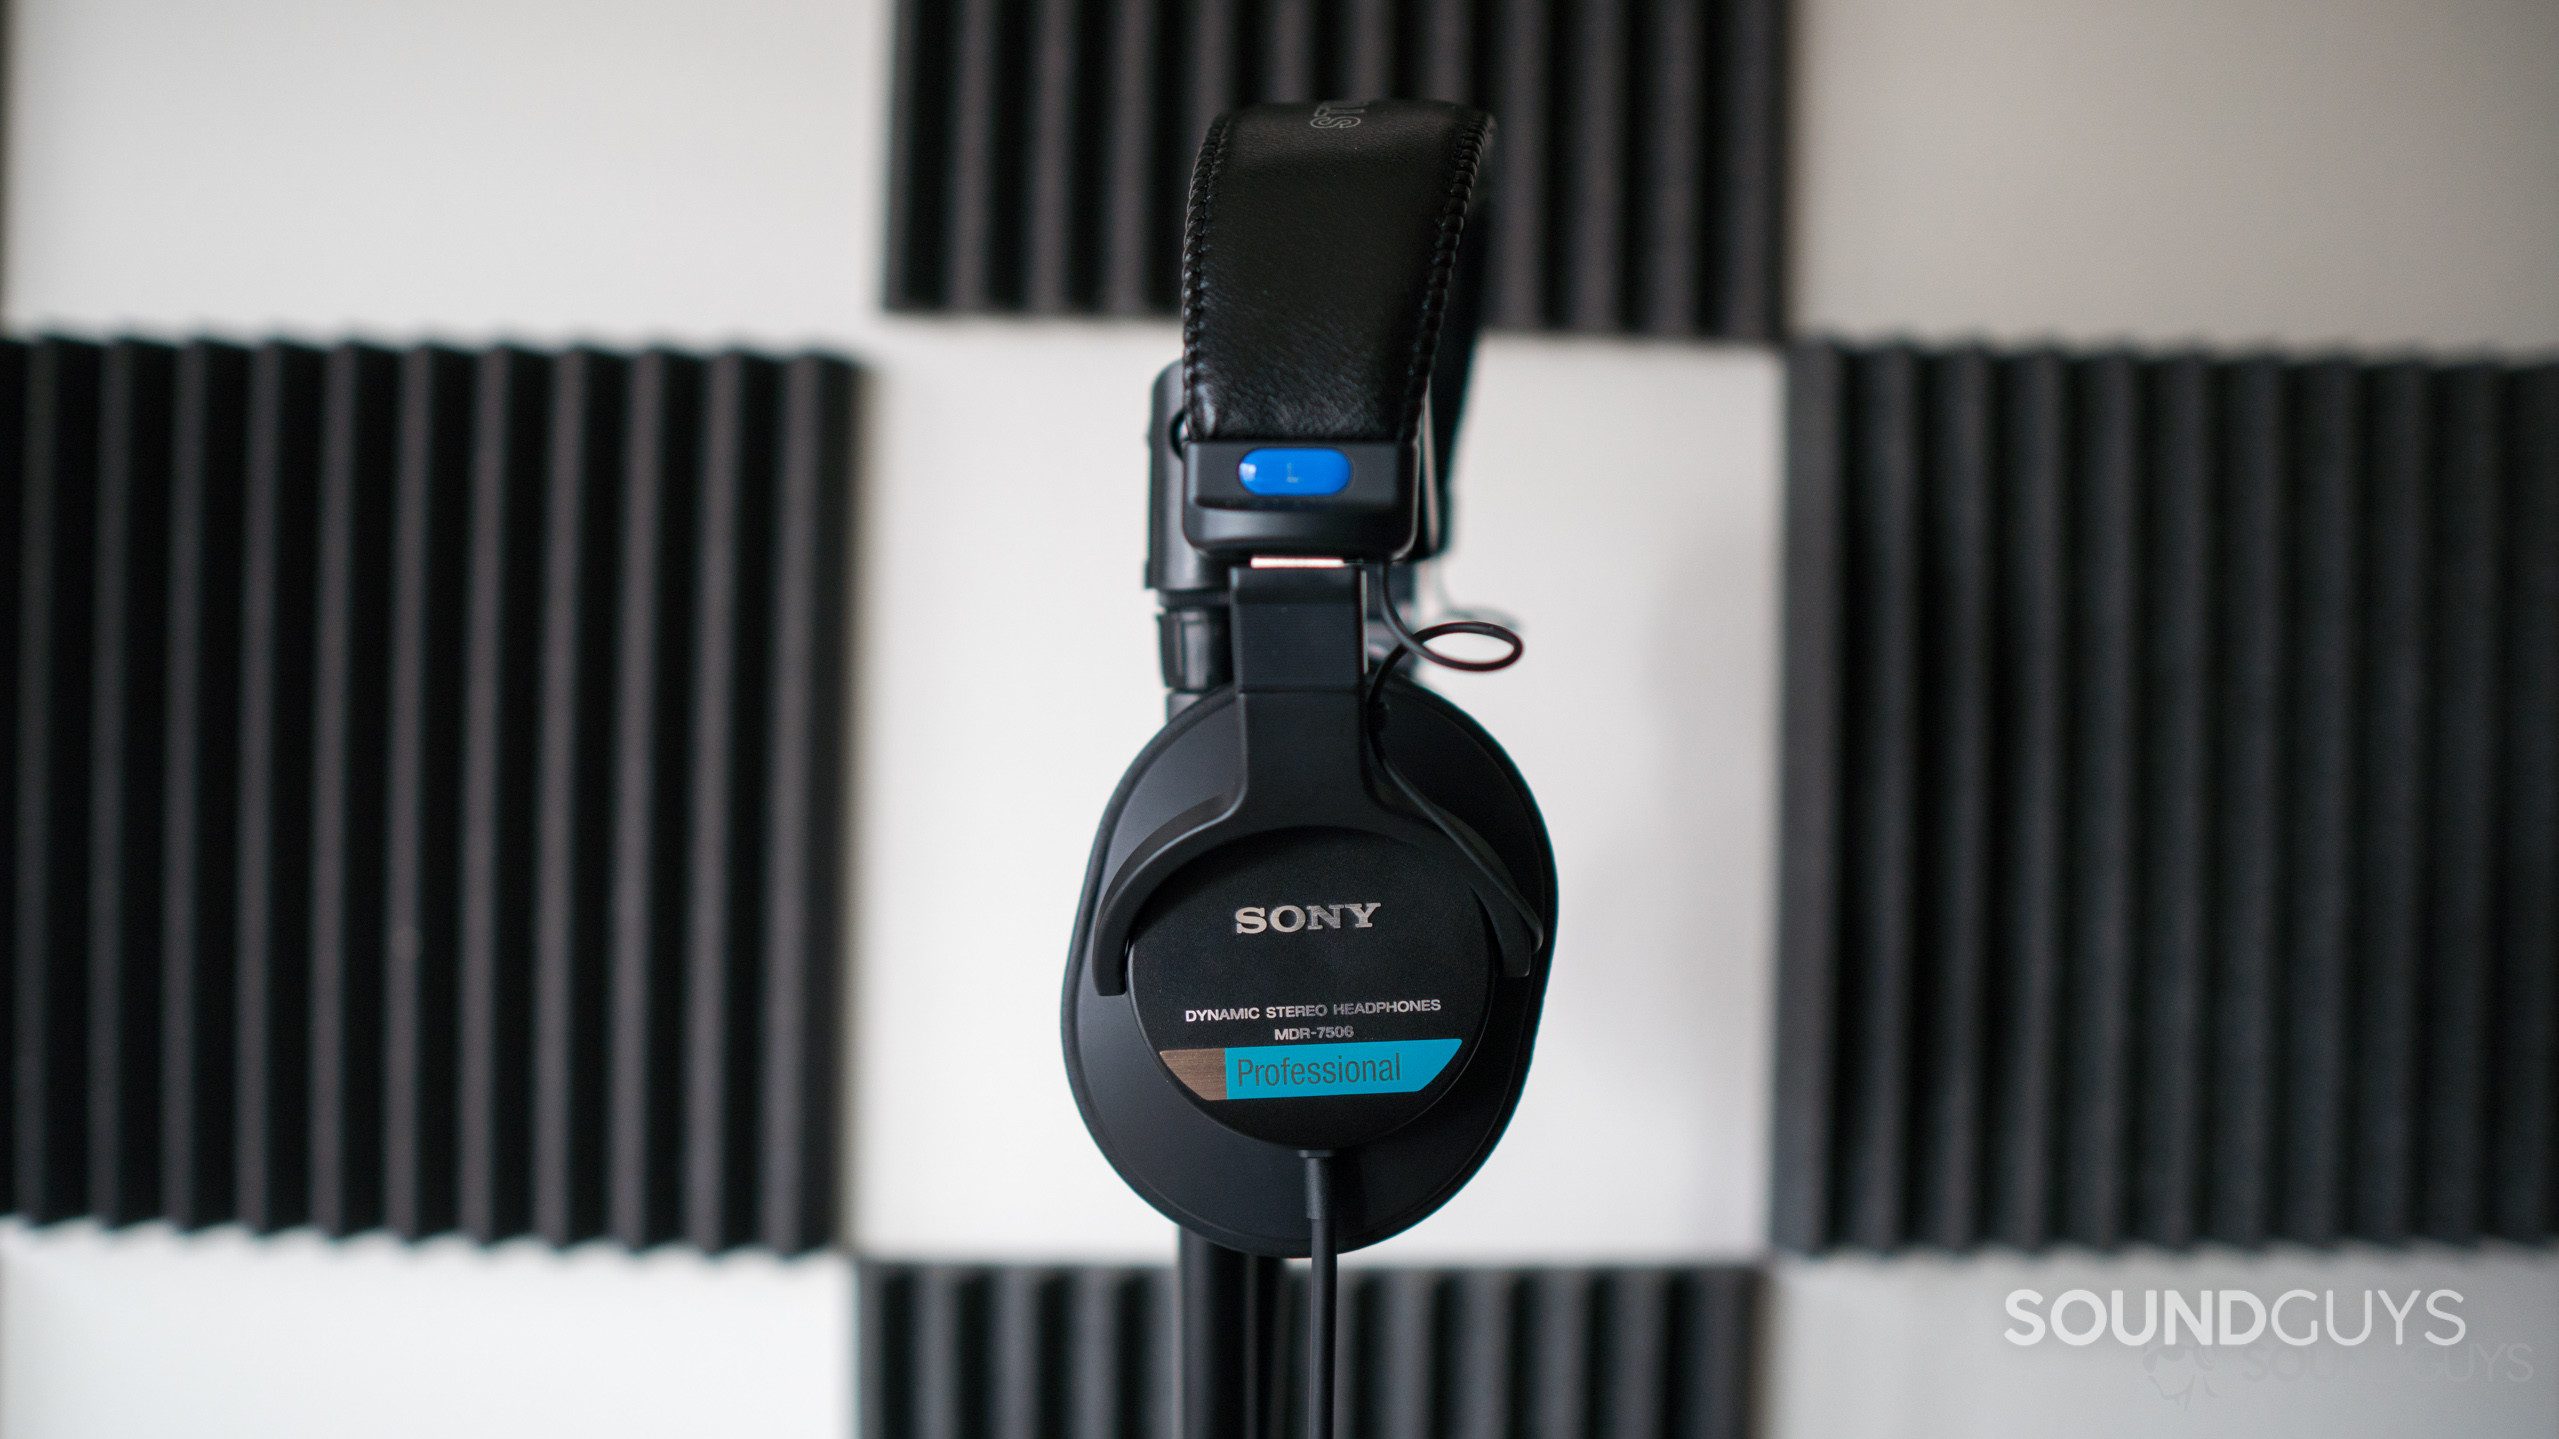
While you can use the regular earbuds that came with your phone just to hear what’s going on, they’re not great for true monitoring or editing. Plus, you want headphones that won’t change the sound of your vocal tracks all that much because that can make your final mix sound like crap. The mic can also pick up the sound coming from your speakers or open-back headphones, which causes a very annoying and distracting echo in the final product. You need headphones, and if you want to be really precise, they should be studio headphones.
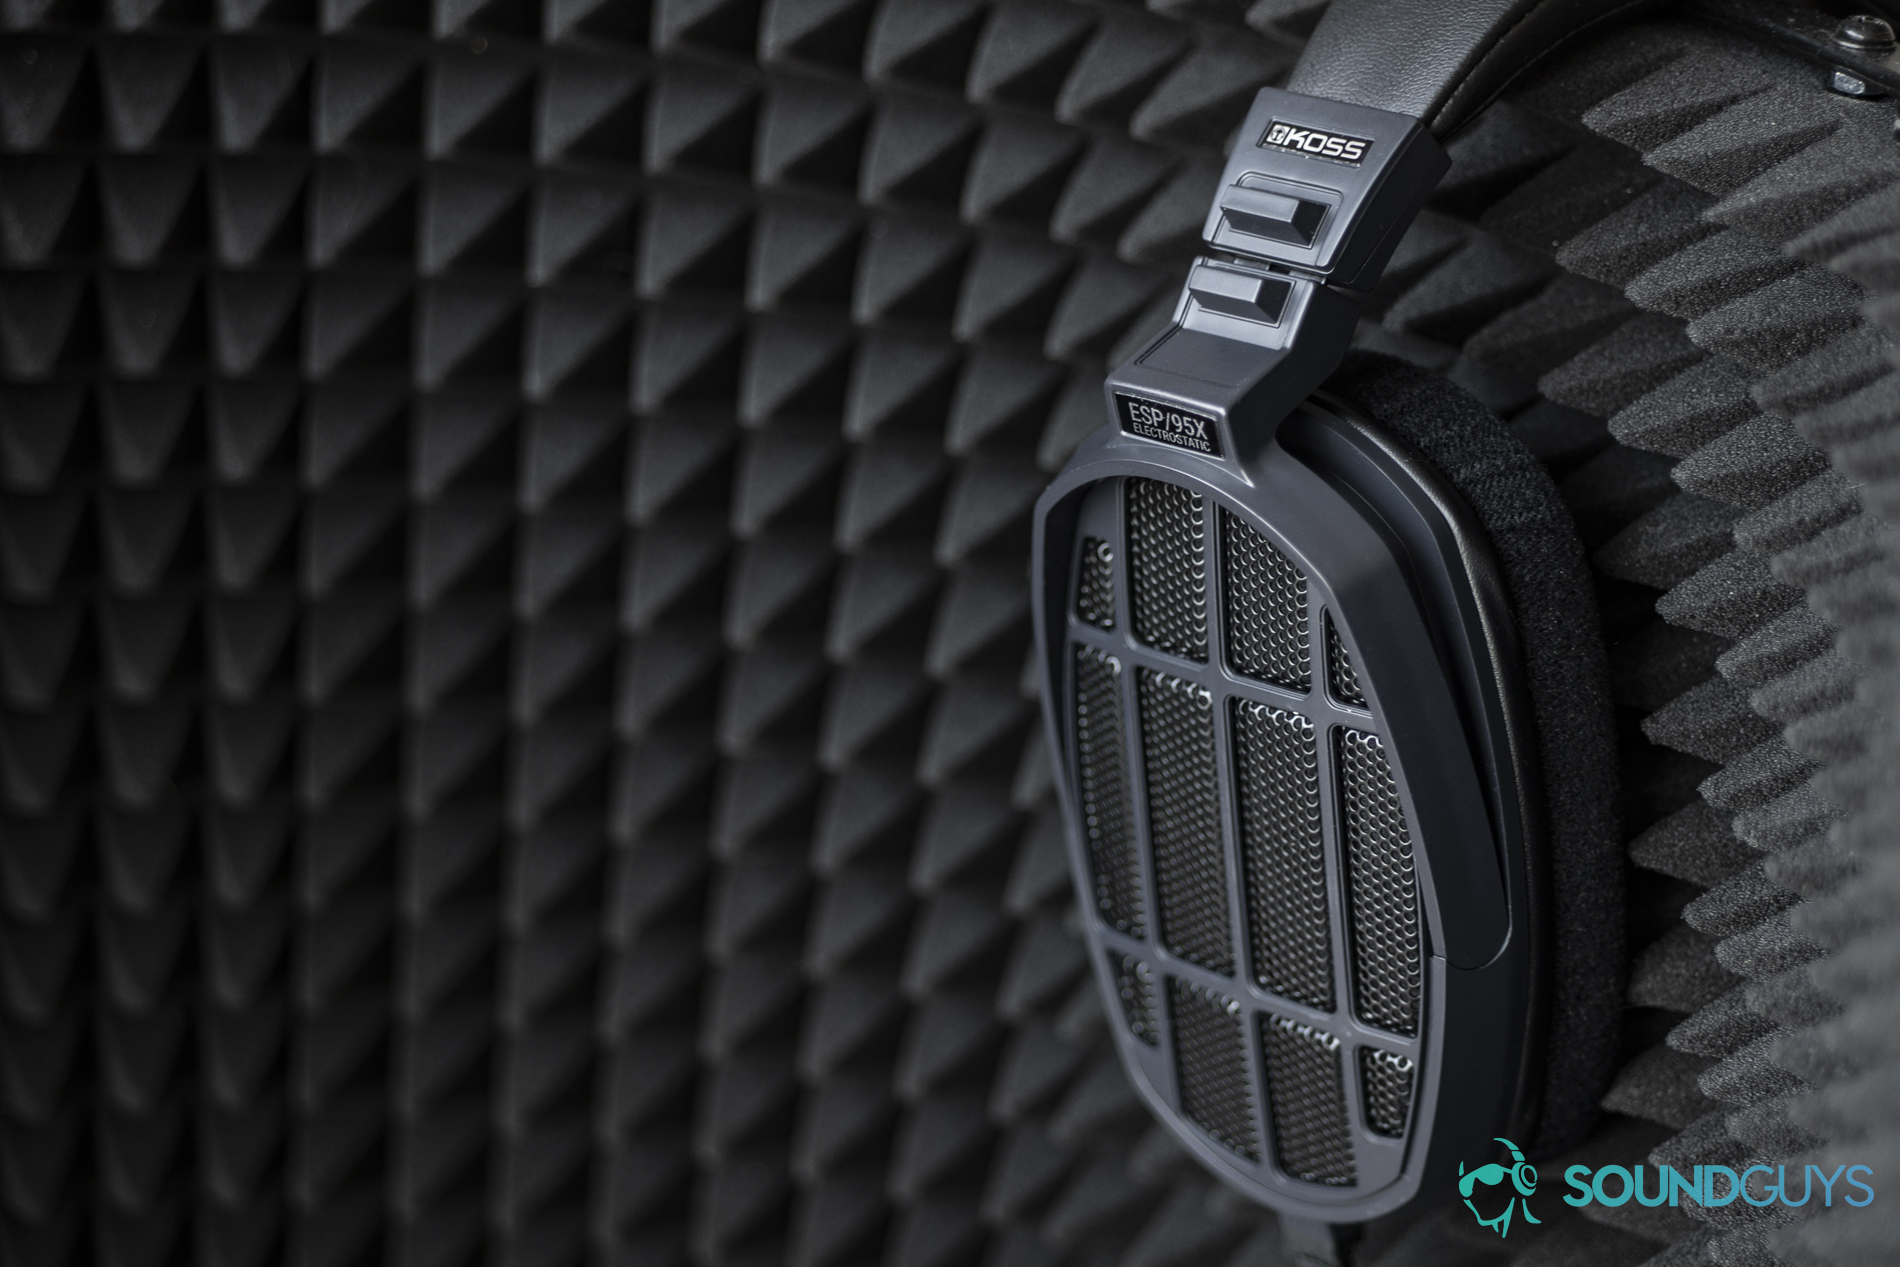
Now, before you go crazy looking for a perfectly flat-sounding pair of headphones you should know that there is no such thing. All headphones emphasize some notes more than others, or in other words: make certain sounds louder than others. But there are some headphones that get close. Personally, I use the Sony MDR-7506 headphones, but the Beyerdynamic DT 770 Pro, the Audio-Technica ATH-M40x, and the AKG K371 are all great options you can choose from. These types of headphones are good because when you’re editing the audio later, you want to hear all the little changes and subtle differences that different effects can have on your audio.
Minimize bumps and annoying sounds with a stand, shock mount, and pop filter
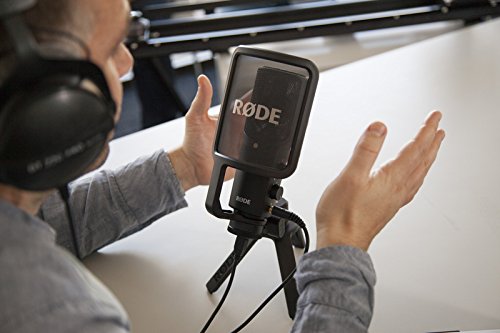
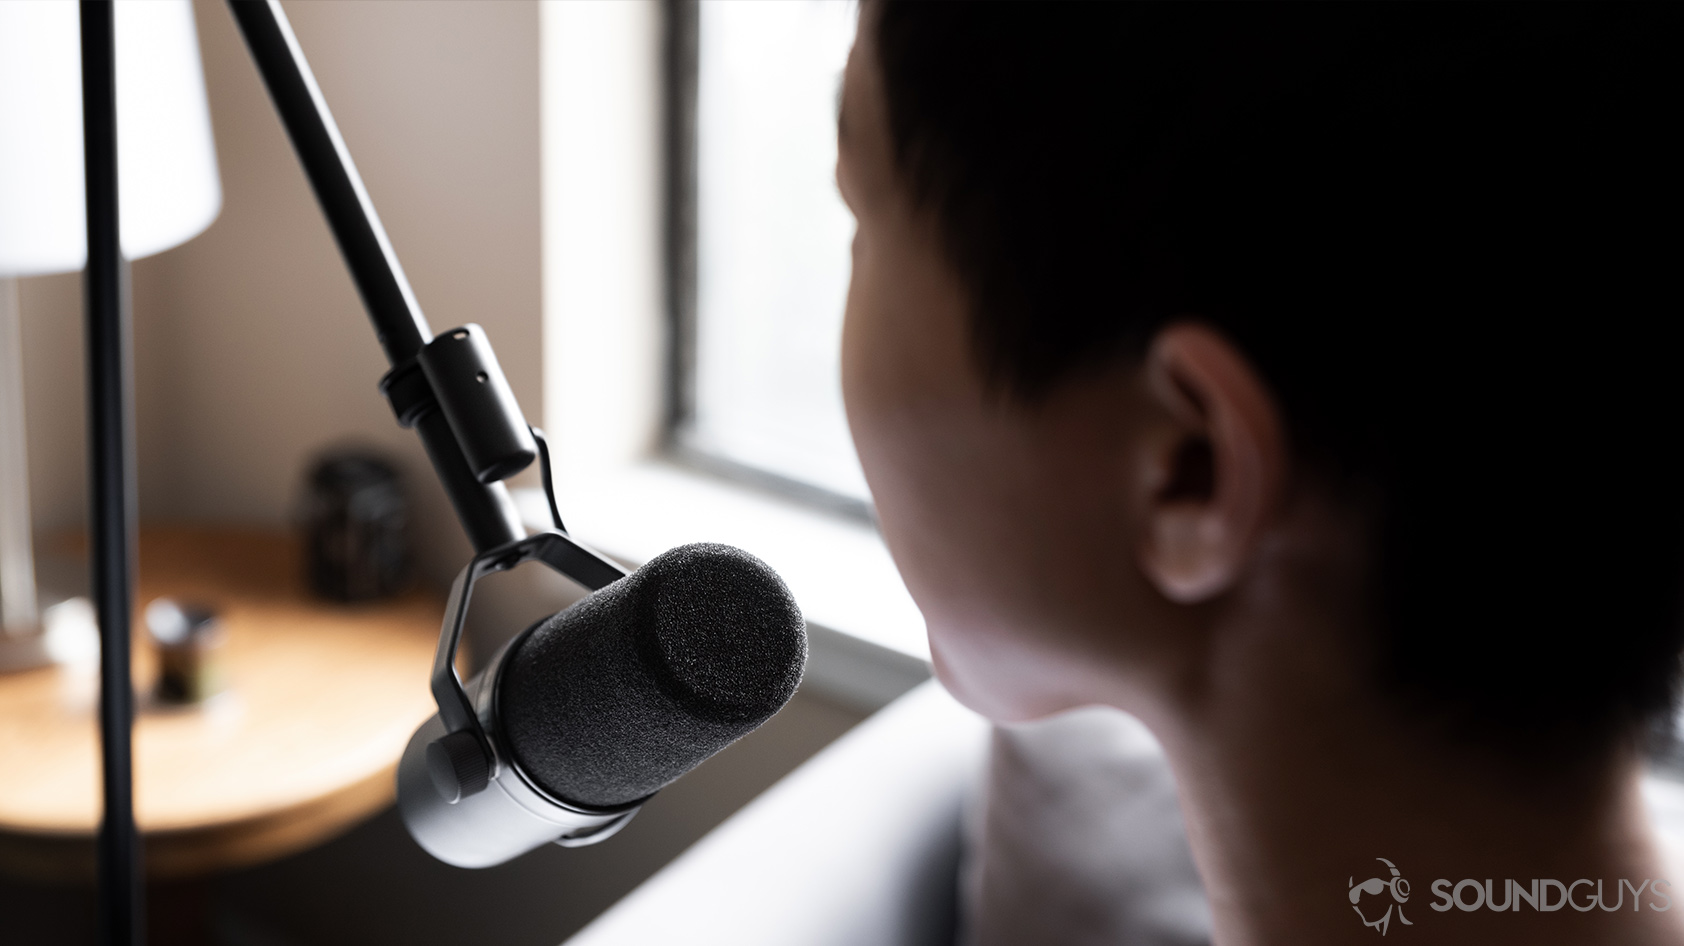
You need a stand for your microphone. The less bumping and moving around that your microphone does, the better—and holding it in your hand is going to lead to the cable whacking things and ruining your recording. Depending on your situation, you can go with a mount that can attach to your desk or a free-standing tripod that you can attach the microphone to. Thankfully, whichever way you go shouldn’t cost you too much money; though I will say that if you’re spending hundreds of dollars on something like the SM7B, you might want to get a sturdier mic stand that can support the heavier weight of the mic.
Then there’s also the pop filter, which is a thin piece of fabric that is usually stretched out in front of the microphone. You absolutely should not ever record at home without one. These help minimize what are called “plosives”, or those annoying “p” and “t” sounds that can sound harsh in the final recording.
What you should know about recording
There are still some important things about microphones and general recording that you’ll need to know before you start recording your podcast. We’ve covered most of these topics before so I’ll link to the corresponding deep dives if you want to learn more, but we’ll just go over the basics here.
What is a polar pattern?
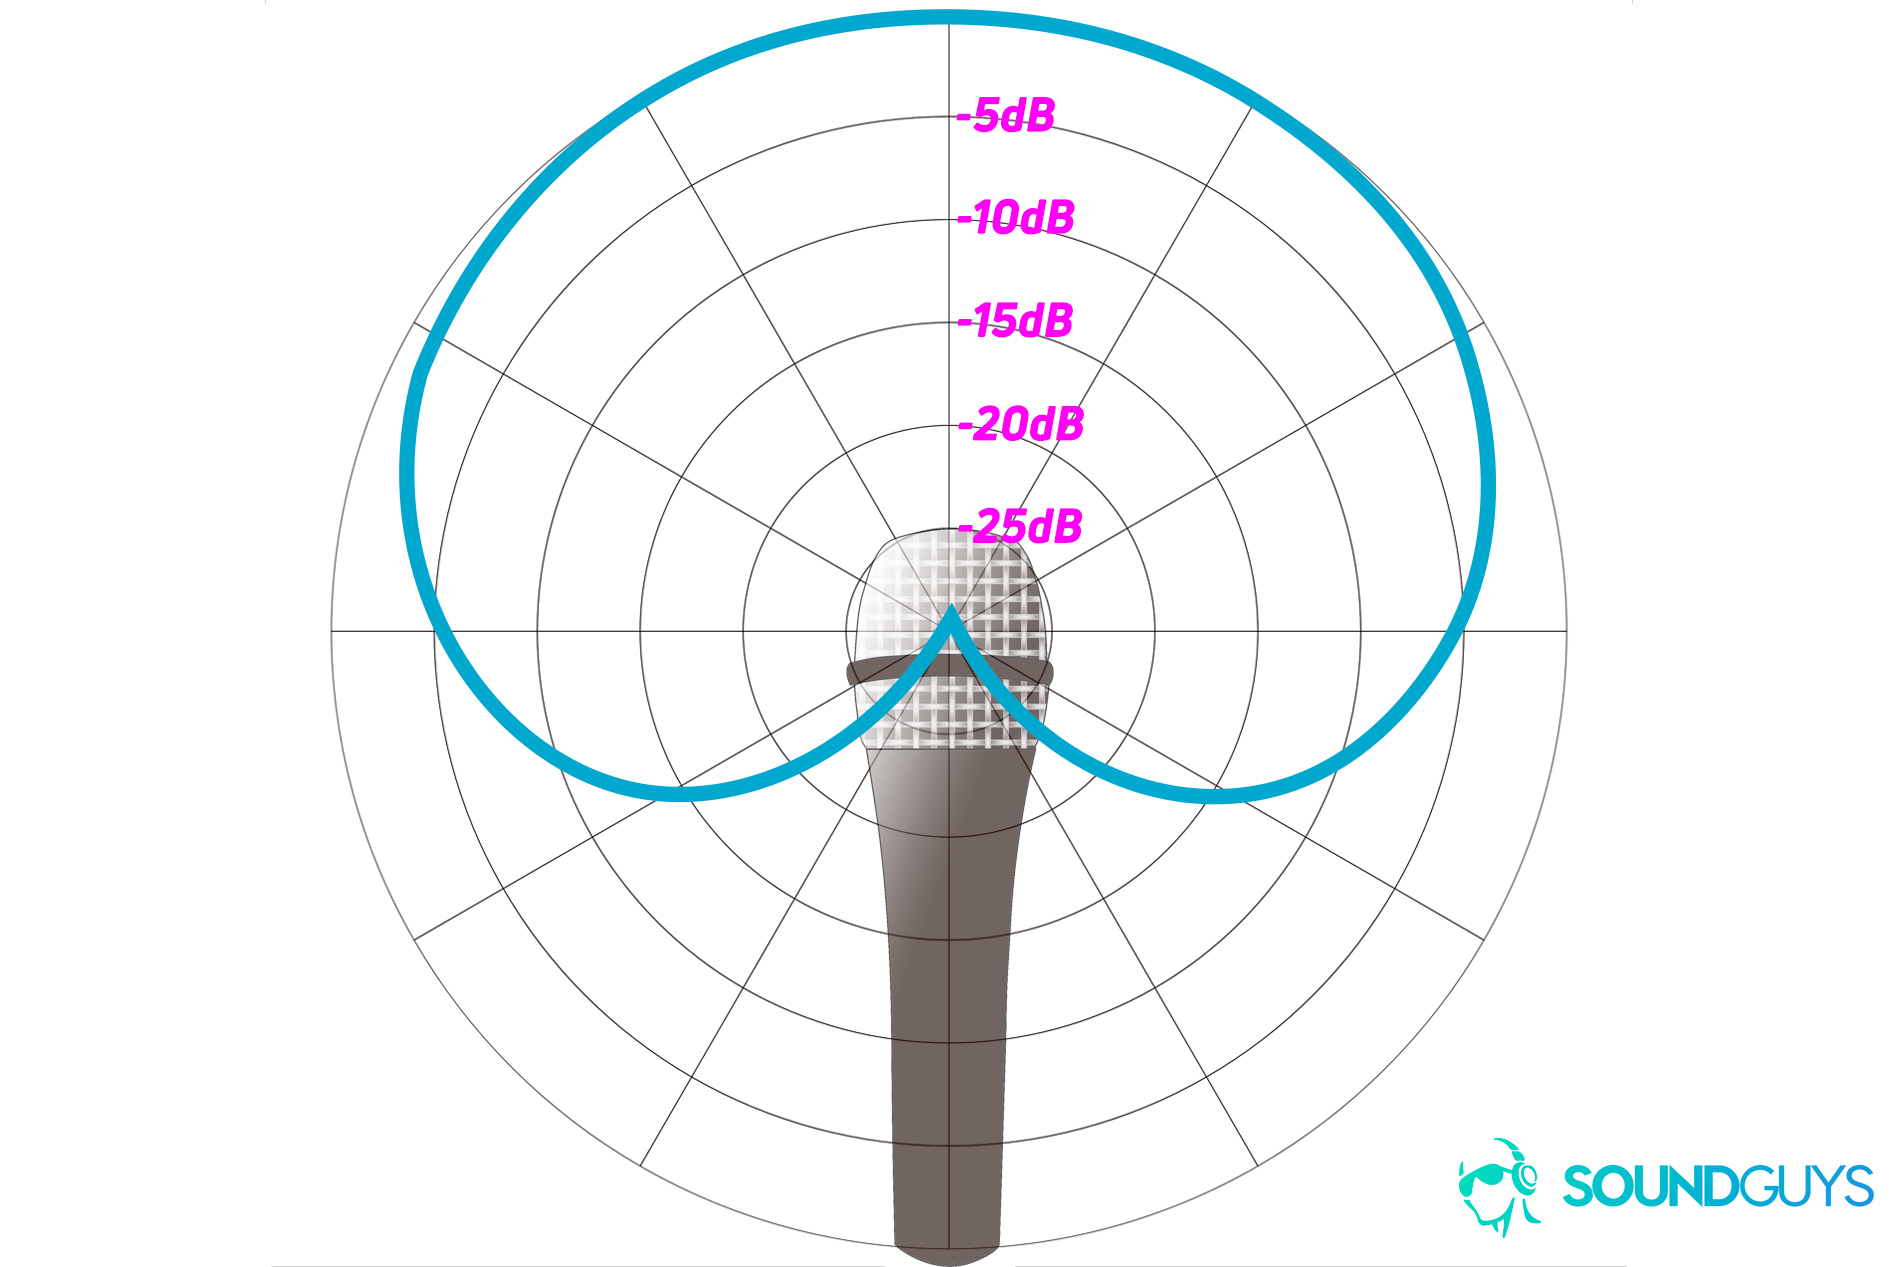
Before you go out and purchase a microphone you should note its polar pattern. Polar patterns represent the direction(s) from which a microphone picks up sound. For example, if you go with something like the Rode NT1-A then you’re getting a microphone with a cardioid pick-up pattern. This means that the microphone picks up sound in a field roughly in the shape of a heart.
This means its really good at picking up sounds that are directly in front of it and slightly off to the sides. However, if you go off too far to the side or even behind the microphone, your voice will drop off significantly. This is useful if you don’t want to pick up any sound that may be coming from behind the microphone. Knowing which polar pattern best suits your environment or intended use case can go a long way when recording a podcast from home.
If your dynamic microphone is still too quiet, you probably also need a Cloudlifter
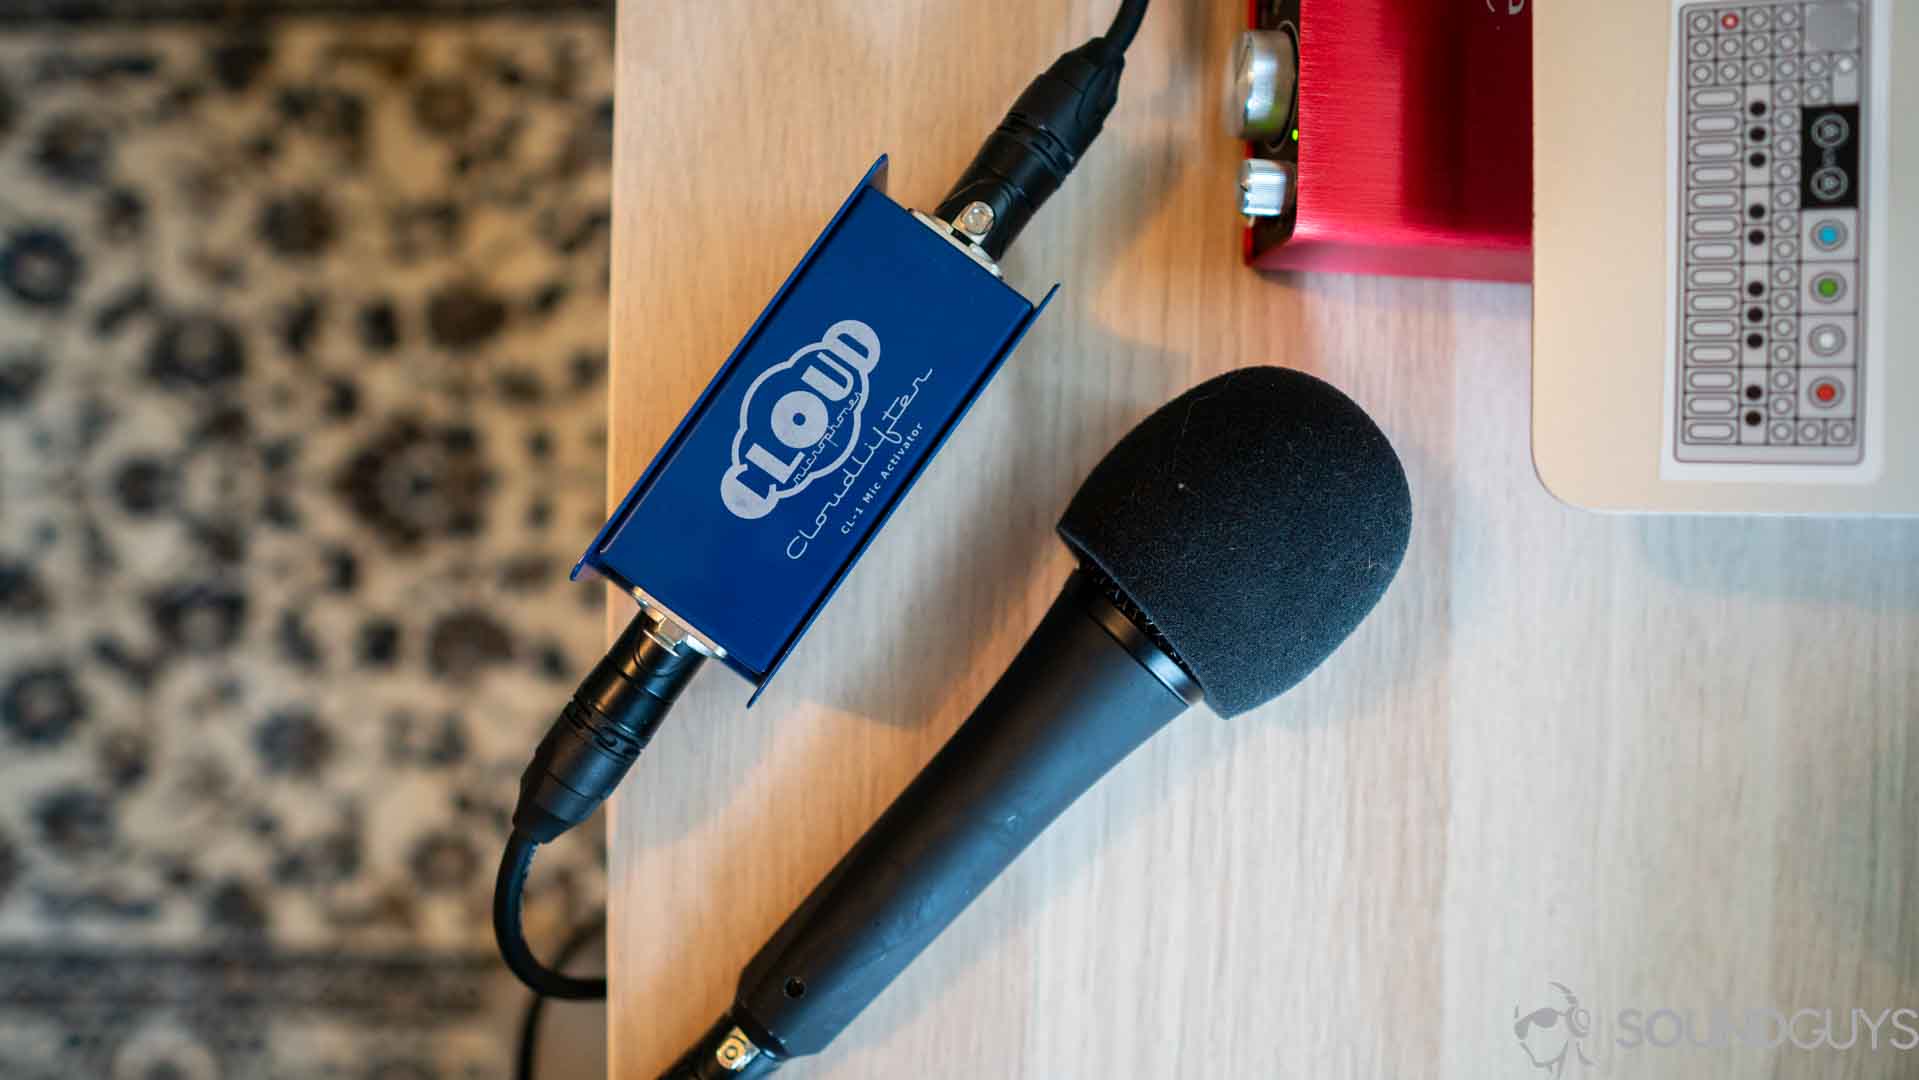
Depending on which XLR microphone you decided to go with, you might not be able to power it with just the gear that you have. If you have the gain on your interface maxed out and the phantom power is on and you still can’t get your vocals to a decent volume, you might need to get something called a Cloudlifter. I mean, you could also always just get another audio interface that could adequately power your microphone, but a Cloudlifter won’t cost you nearly as much—which is why many people rely on the CL-1 Cloudlifter.
You’ll need a recording software
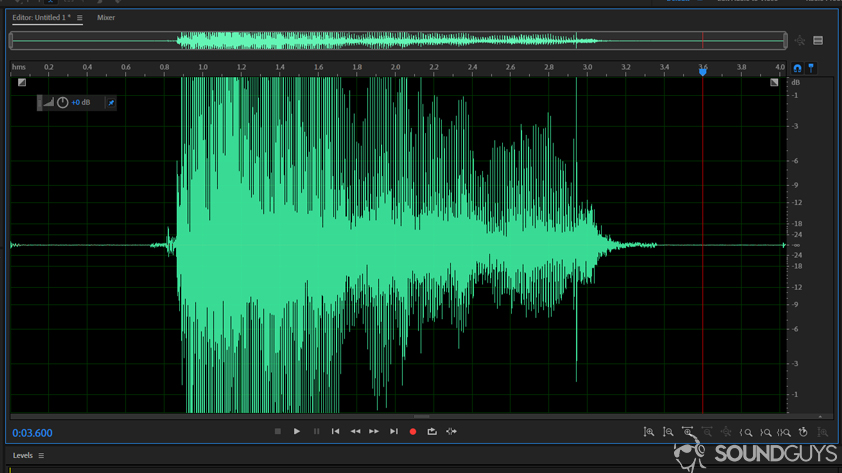
Whether or not you decide to invest in a bunch of equipment or just use something as simple as a USB microphone, you’re still going to need a Digital Audio Workstation (DAW). There are some great options available like Adobe Audition which is basically the industry standard. You’ll get tons of controls, super helpful effects and presets, and because it’s so widely used: you shouldn’t have too much problem when you podcast at home.
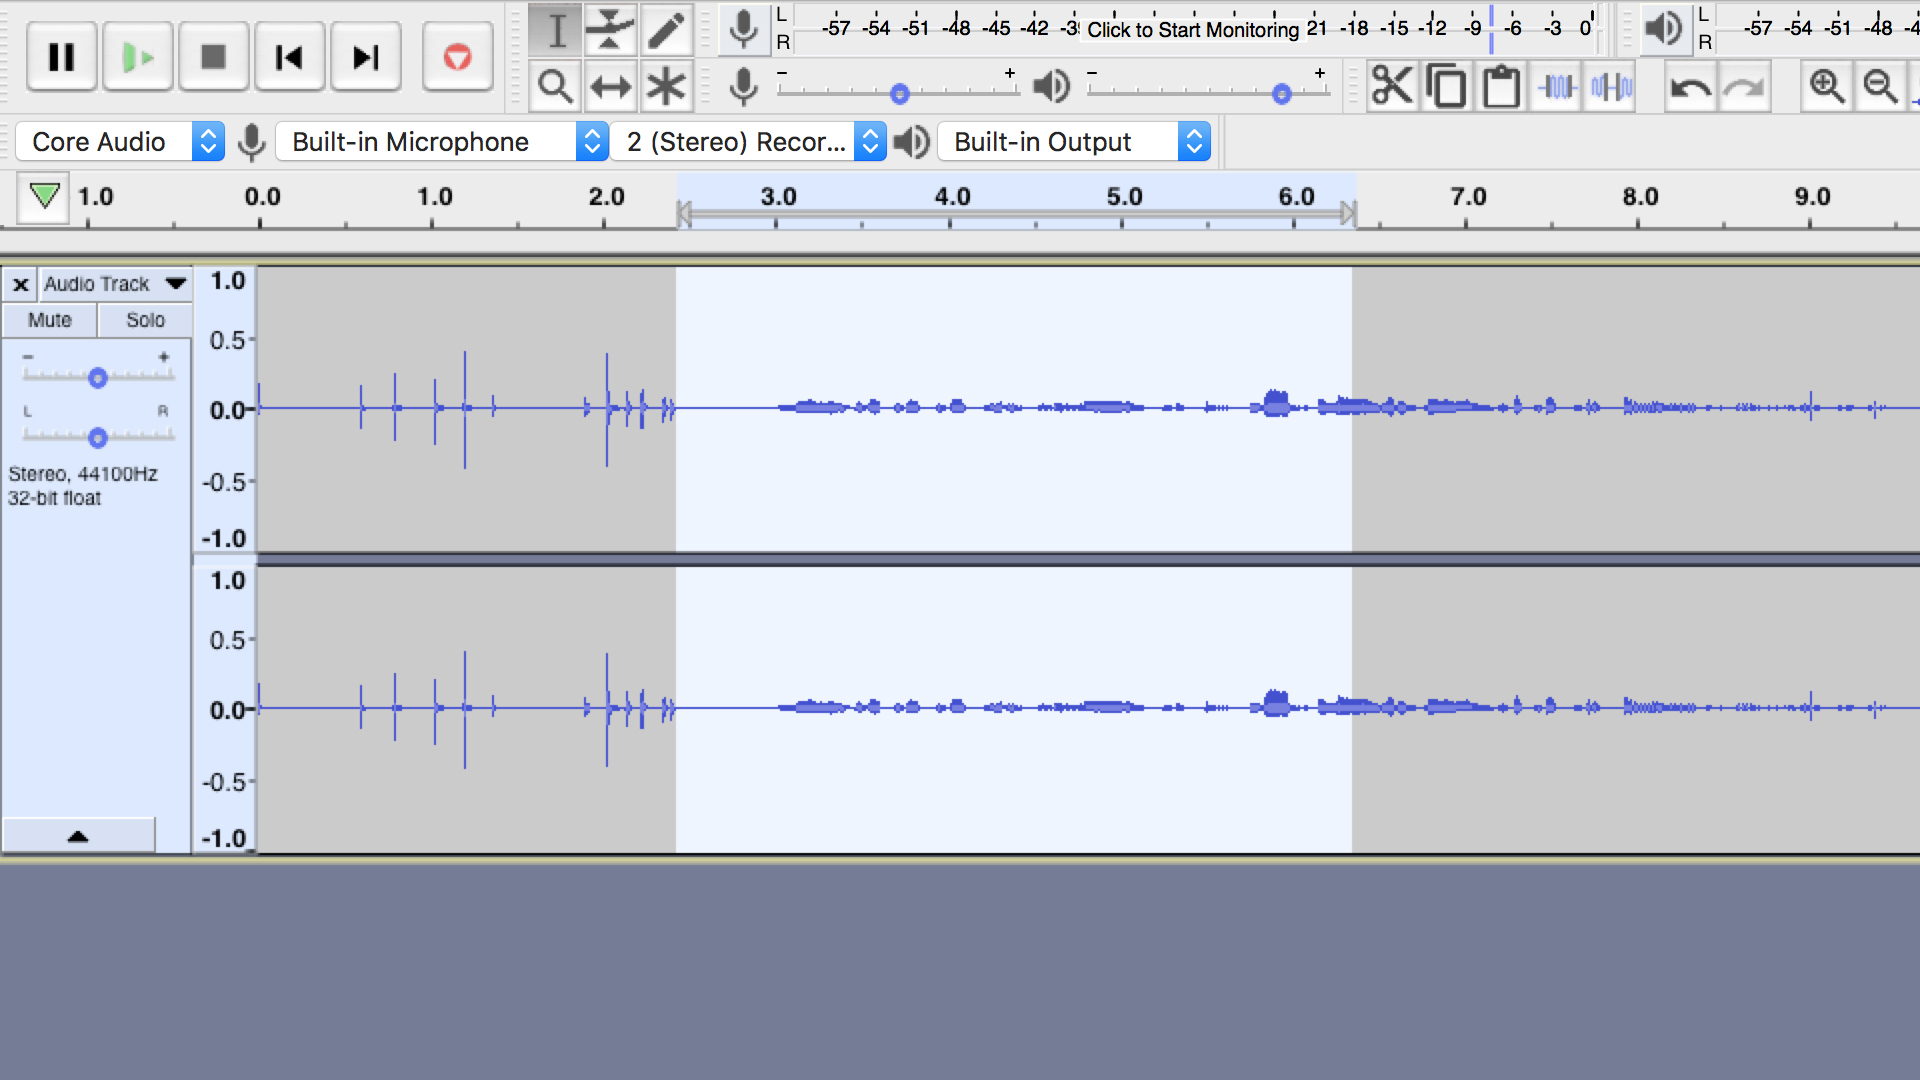
Of course, Audition isn’t free. So if you’re trying to keep it affordable, then another great option is Audacity. Audacity isn’t only one of the best free programs around, it’s one of the best audio programs, full stop. We use it here at SoundGuys for everything from production to testing products, and it never fails.
Don’t miss: Audio mixing 101: Everything you need to know to create your first track
How to record someone remotely
All of this is well and good if your podcast is just going to be you, but if you plan to have a guest or a second host on your podcast at home, things can get tricky. There are a few ways you can go about this. We’ll start with the method that’s going to give you the highest quality possible, which is to record locally. Both people will need their own microphones so that they can record files right onto their own computer. You and the person can then hit record and have a regular conversation on Skype or another video service. Once the podcast is complete, someone will then need to sync up the audio files using one of the programs we mentioned above. One method you can use to make sure the two are synced up as much as possible is for both people to count down before clicking record. 3 – 2 – 1 – record! Then whoever ends up editing just has to sync up the counting right at the beginning and they can be certain the rest of the file will sync up nicely as well.
If you’re interviewing someone who might not have any recording equipment, then you have to get a little more creative. You can always use a software service like Zencastr which makes recording guests remotely super easy. Best of all, there’s a free tier available that’s perfect for anyone just starting out. Of course, if you don’t want to deal with Zencastr or a similar service, then the next best thing is to just record system audio using one of the recording softwares we spoke about above. By switching the input in Audacity to record system audio, you can get a recording of any video call you take on your computer. Of course, it isn’t going to sound great, but in a pinch it gets the job done.
Lastly, if you’re recording a phone conversation there are also a plethora of apps and services that you can use in order to record a phone conversation. Just make sure you get consent from the other person before you hit record on your end, and you’ll be good to go. Again, these won’t have the same level of quality as if your guest is sitting in the studio but sometimes that’s the aesthetic you’re going for and depending on the type of podcast you’re doing, it might be what’s necessary. Don’t forget, it’s all about the story. So if having a guest call in adds to your story, then go for it!