All products featured are independently chosen by us. However, SoundGuys may receive a commission on orders placed through its retail links. See our ethics statement.
How to start streaming
Interested in starting a stream? It’s the cool thing to do in online content these days, and getting started isn’t very hard. Whether you’re looking to be the next XQC or you just want a space to hang out on the internet and watch YouTube videos with other people, streaming on a site like Twitch offers great opportunity to build a community and become a #influencer.
If that appeals to you, there are all sorts of things to think about when setting up. Setting up a stream has gotten pretty simple, but it’s still more complicated than just clicking “broadcast.” Here’s how to start streaming and everything that you need.
Editor’s note: This post was updated May 30, 2023 to include new hardware recommendations, up to date information about Twitch broadcasting standards, and to reorient the step by step instructions to align with the experience of using OBS in 2023.
Make sure your PC is ready for streaming
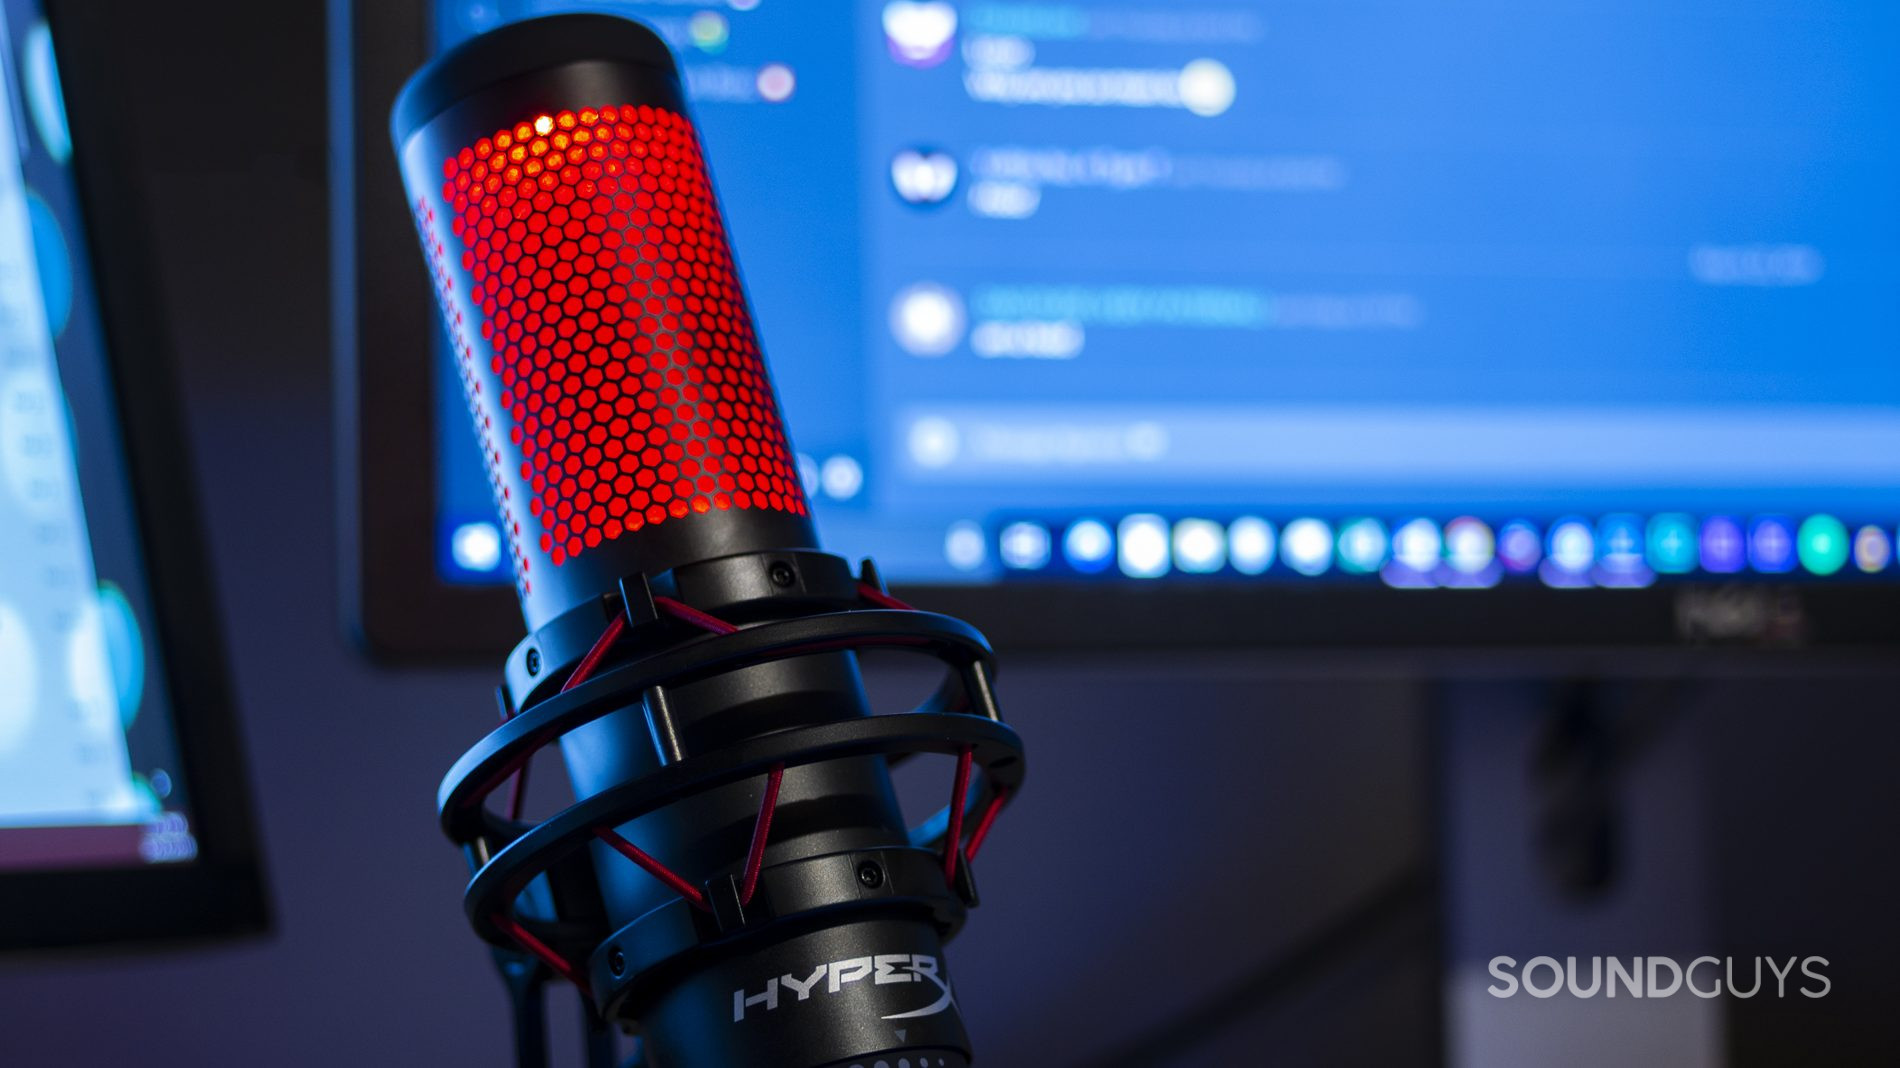
The line for what hardware you need to stream is a shifting one. Depending on what you want to do, you’ll need something on the beefier side. If you’re intent on streaming video games on your PC, Twitch recommends having a computer with at least 8GB of RAM and an Intel i5 CPU. You’ll also need a graphics card powerful enough to run whatever games you’re interested in streaming. All told you’re probably looking for something relatively pricey. If you’re only interested in streaming live video without gameplay, graphics card requirements are less of a factor.
Additionally, there are a few ways to set up a stream. Today we’re going to focus on doing it from a single computer, as that’s the simplest. However, if you’d rather offload the system strain of capturing gameplay as you run it, you could always get a capture card like the Elgato HD 60X and use it to connect your PC and laptop or another computer. This is also how you’d set up a console for streaming (if it doesn’t already have streaming functions built in).
Hardware checklist
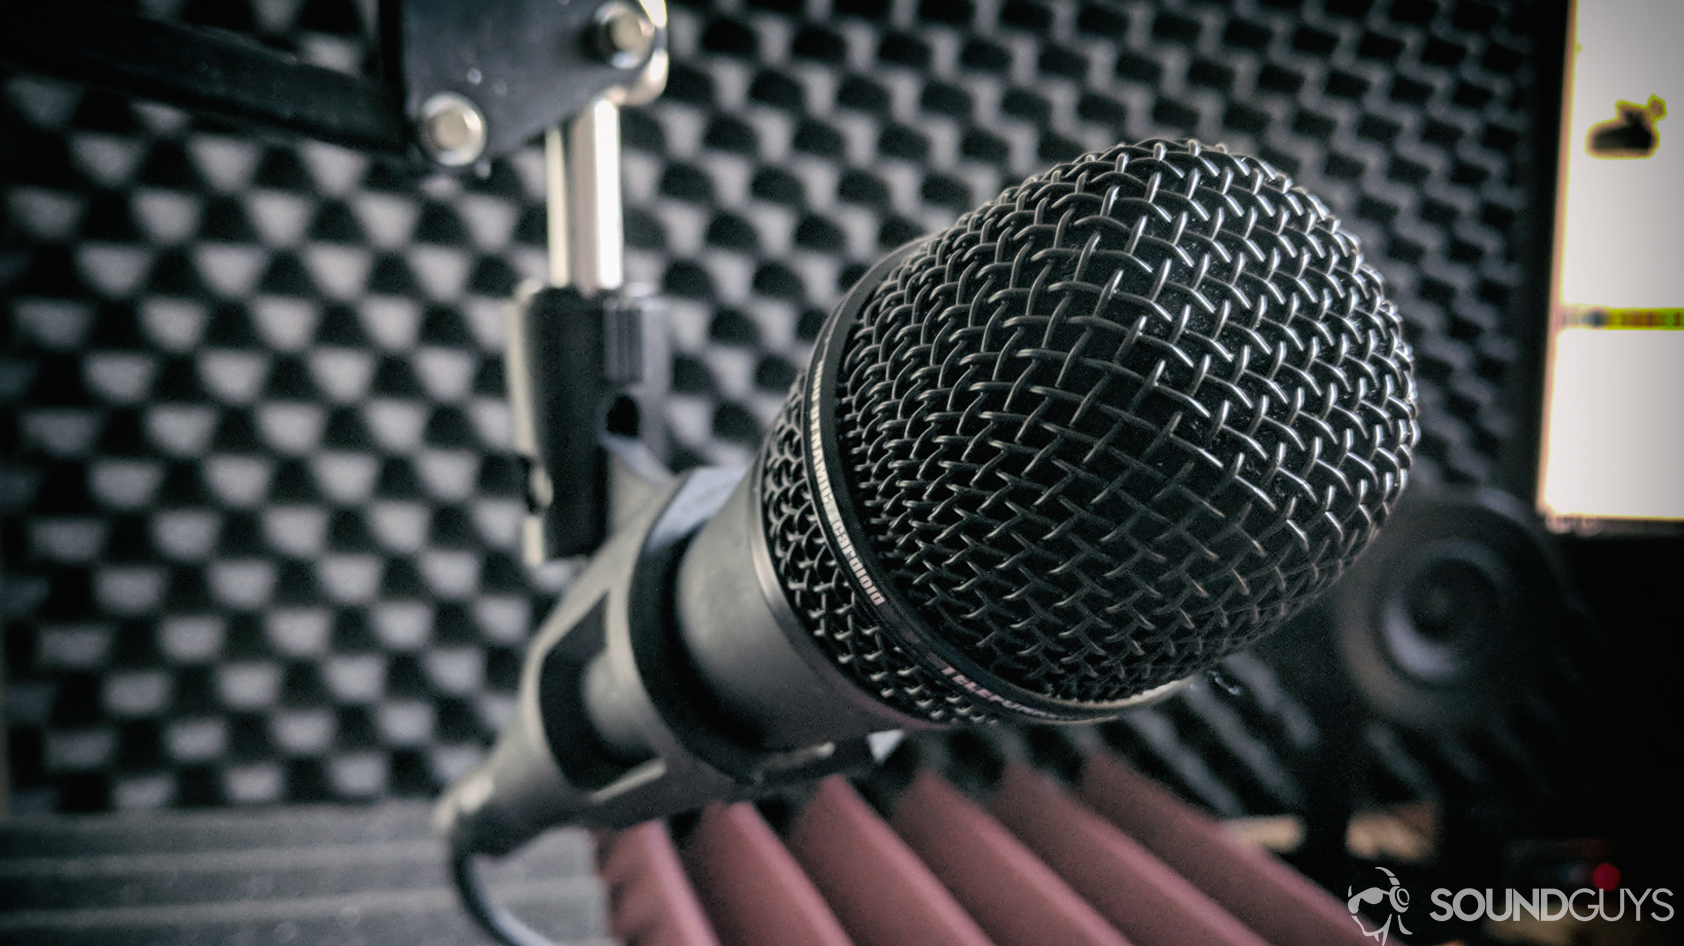
If you’re going to stream, there are some things you need to have. First and foremost, you need a microphone. Sites like Twitch place all sort of constraints on quality, especially when you’re just starting out, so a lot of the benefit of springing for something that costs hundreds of dollars and records absolutely pristine audio will be lost in the upload — it still might be nice if you plan to record your streams locally, though. Twitch doesn’t support audio bitrates higher than 320kbps, and it recommends 128kbps. Additionally, it supports stereo and mono setups exclusively, so trying to build something more cinematic isn’t an option.
Basically, any decent podcasting microphone will do great. Picking up something from the Blue Yeti line, HyperX Quadcast, or the Elgato Wave:3 can handle just about anything you’ll need to do on a livestream. These days there are also a ton of XLR-based microphones geared toward streaming, like the Logitech Blue Sona, Elgato Wave Dx, and the HyperX ProCast — you’ll need an audio interface for those though.
However, you don’t need to spend a ton on a microphone. Gaming headsets with good microphones like the Corsair Virtuoso or Logitech G PRO X 2 LIGHTSPEED could get the job done, though a well-placed detached mic will always sound better — especially for people with very deep voices. These days, even the cheaper microphones from Razer and HyperX will get the job done very well for under $60.
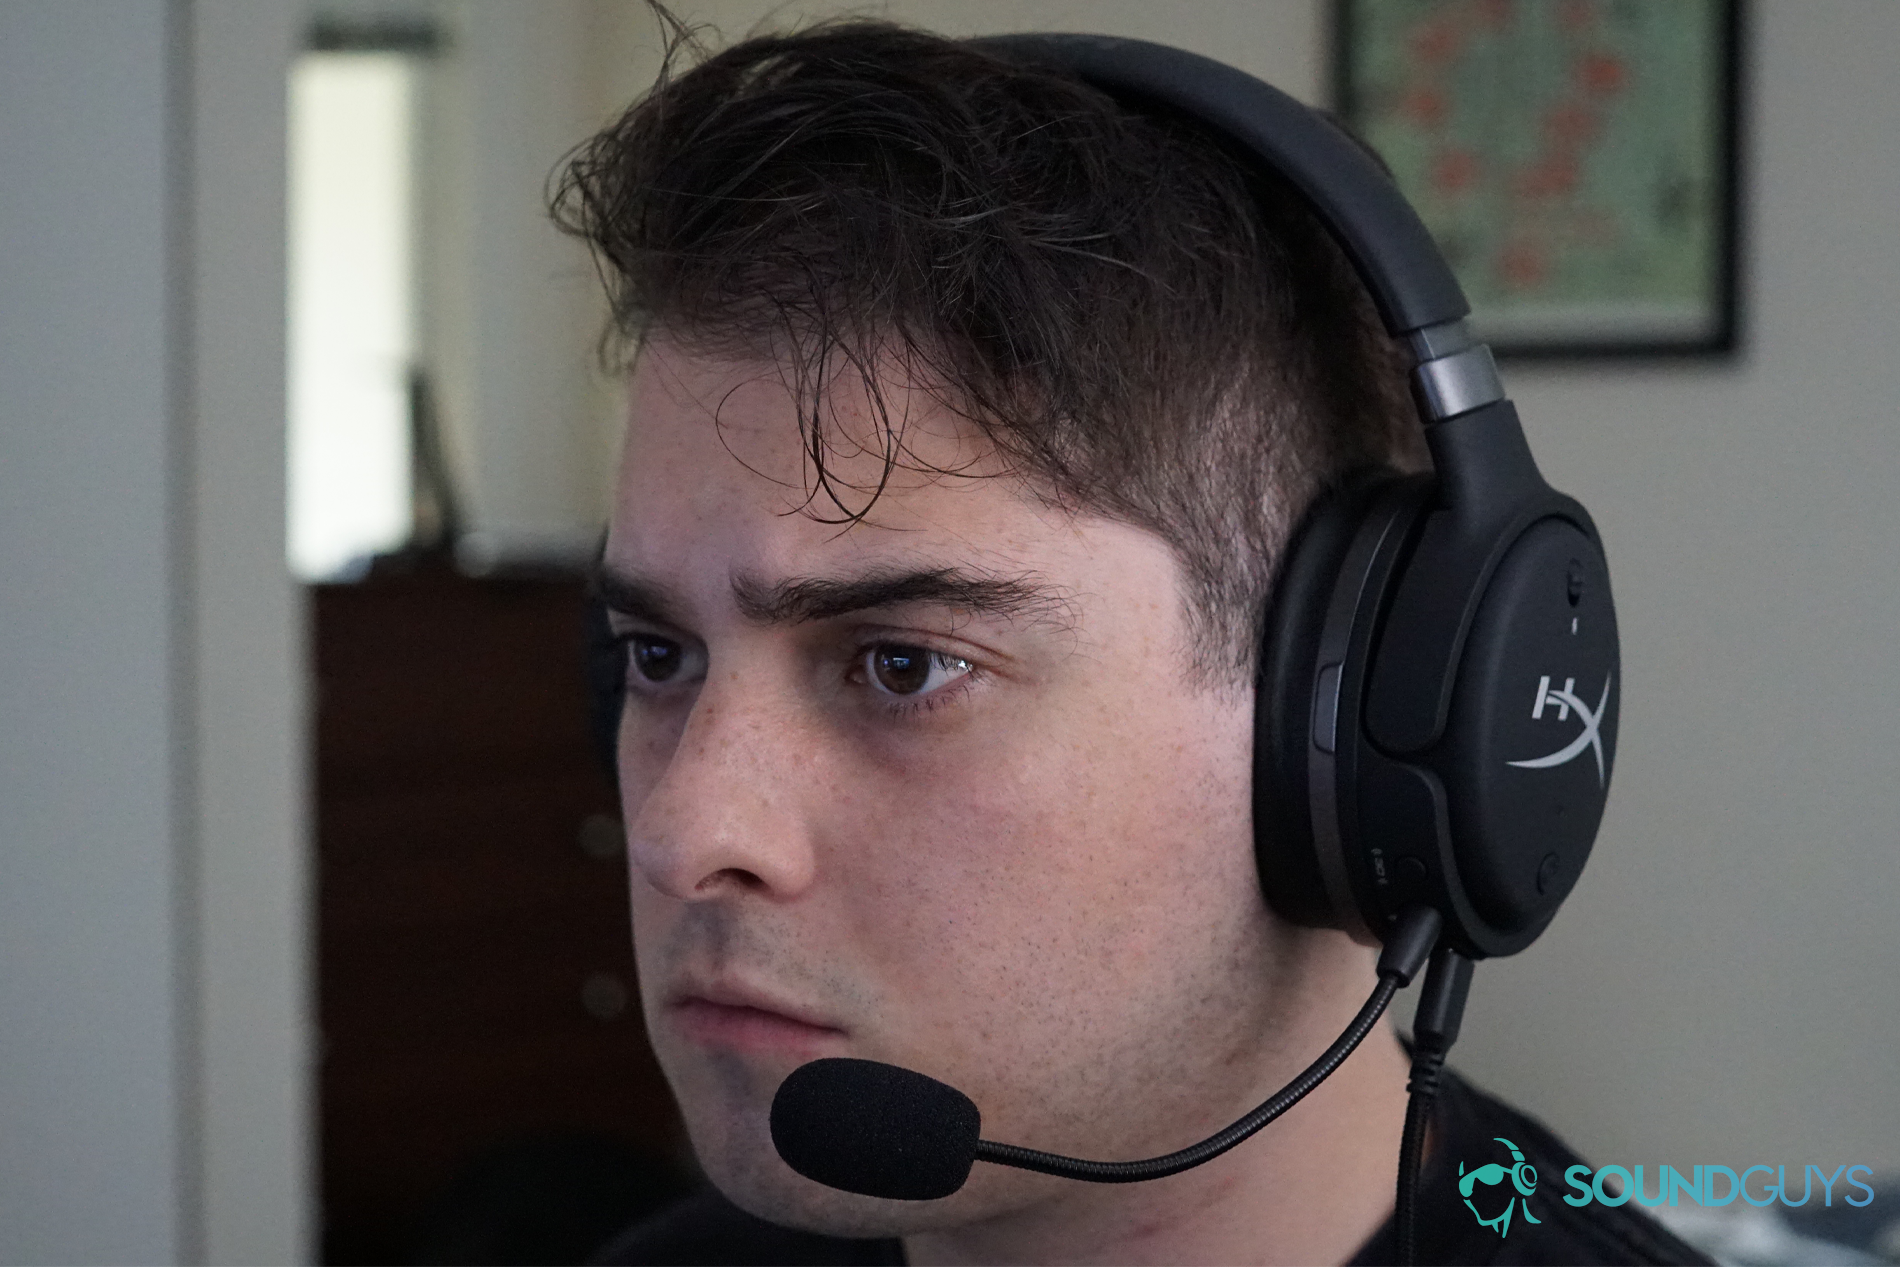
Once you’ve got an audio input option, it’s time to think about the camera. Plenty of streamers these days have full DSLR or mirrorless cameras hooked up to their streaming setups—you don’t need to get that fancy. Streaming in 1080p at 60fps is possible, but it’s not super feasible on average or even relatively fast internet connections, and the video bitrate required is pretty much the maximum Twitch allows (around 6000Kbps). A decent webcam, like the Logitech C922x will do you just fine. It sits easily on top of any monitor and plugs in via USB.
Once you’ve got a half-decent webcam and mic, you really don’t need anything else. It can be nice to have a second monitor for reading chat, but that’s a bonus (and even less necessary if you’re not streaming games).
Creating your streaming space
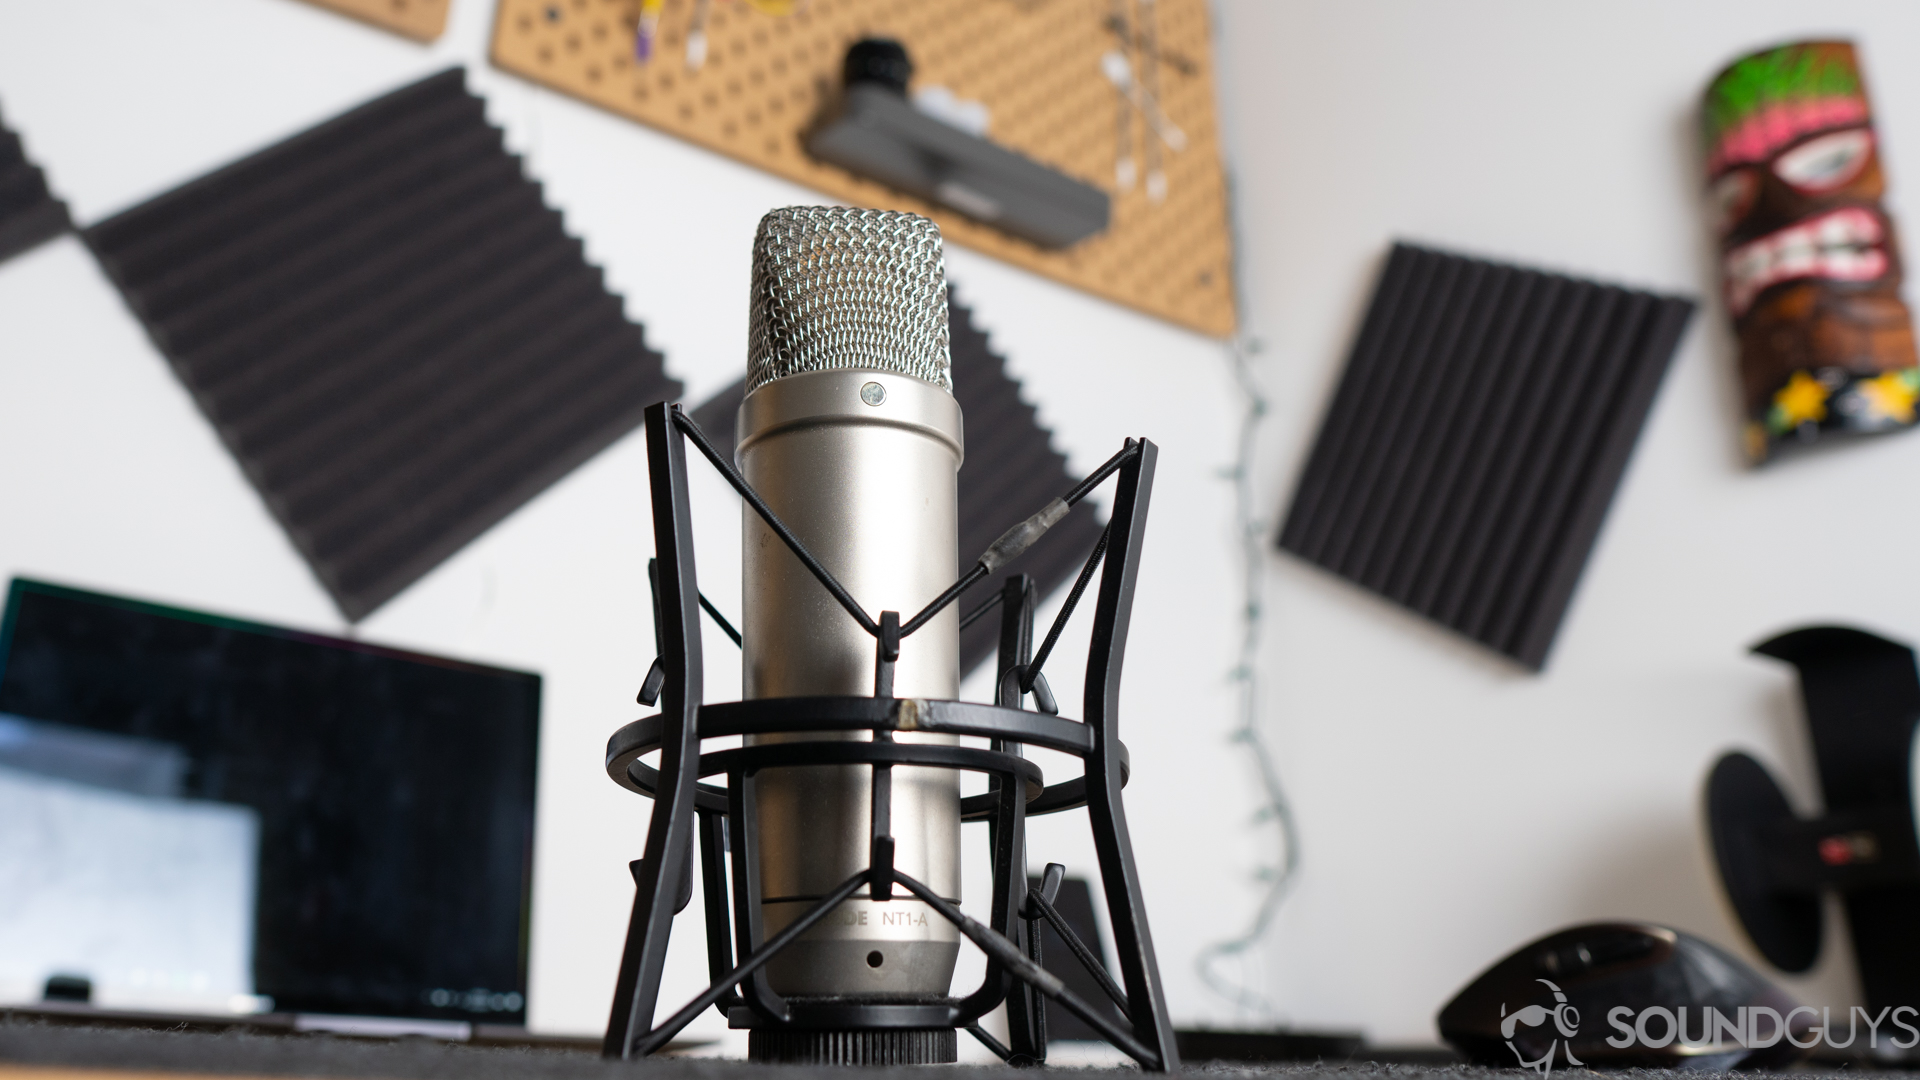
While the raw quality of your audio and video are capped, it’s still important to make all the same considerations as when setting up a more conventional recording space. In fact, some of these factors are even more important for streaming, as they’re some of the only ways you can meaningfully improve your audio and video quality.
Pay attention to the space you’ll be streaming from. If your camera is pointed toward a window, you’re going to want some way to light your face, and it’ll probably be a good idea to close your blinds. You may need to invest in some acoustic treatment for your space, whether that means foam squares or something more intense.
When setting up your audio situation, you should be thinking about it similarly to how you’d feel about recording a podcast. Make sure your mic isn’t right in front of your mouth, or get a pop filter. You can’t record under a blanket (unless you can fit a camera, computer and light under there too), so investing in some foam squares might be a good idea. If your computer desk is up against a wall, try putting some foam in the space behind your monitor. Little changes like this can do a lot for getting rid of little audio problems like echos or rogue plosive and fricative sounds.
Picking your streaming software

Once you’ve got the physical part of your set up sorted out, it’s time to move to the software side of things. Twitch recently launched its own broadcaster software, Twitch Studio, in open beta after months of testing by various streamers. This new software is aimed at people just starting out, and it can automatically detect your camera, microphone, and even the correct bit rate for your internet connection. On top of that, it’s chock full of built-in alerts and templates, so getting a stream set up on Twitch should take no time. However, Twitch Studio is only available to, well, Twitch streamers. If you’re interested in getting your start on Mixer or Youtube, you’re out of luck.
If you’re interested in streaming as just a way to share an experience with your friends, rather than a wider audience on the internet, you can also skip most of this and just use Discord. The voice and video chat service’s desktop app lets you stream games directly to a Discord server or call. Maybe you’ve decided to play a game like Heavy Rain or Monkey Island, and your friends want to get in on solving puzzles and making story decisions — there’s no need to set up whole new software situation if it’s not strictly what you’re looking for.
If you actually are looking for something more public (and more versatile) Open Broadcaster Software (OBS) is your best bet. It’s a completely free program that handles streaming what’s on your computer to your service of choice, and it’s basically the standard for streaming software. OBS is relatively easy to use and offers all sorts of great options for customization. It gathers all your inputs and outputs, organizes them on a screen, and then encodes and streams the resulting video — basically it’s a one-stop shop for streaming software.
However, like many open source projects, OBS can feel a little unpolished. For people who want an even more user-friendly experience, there’s also Streamlabs. This streaming toolset is based on OBS, and offers analytics, visual theming options, and built-in integrations to all the major streaming services. If you’re just starting out and all the options and dropdown menus are making your eyes swim a little, Streamlabs does a little more of the work for you than OBS, which can be a real godsend.
For our purposes, we’re going to stick with the basic, regular OBS service though.
Setting up OBS
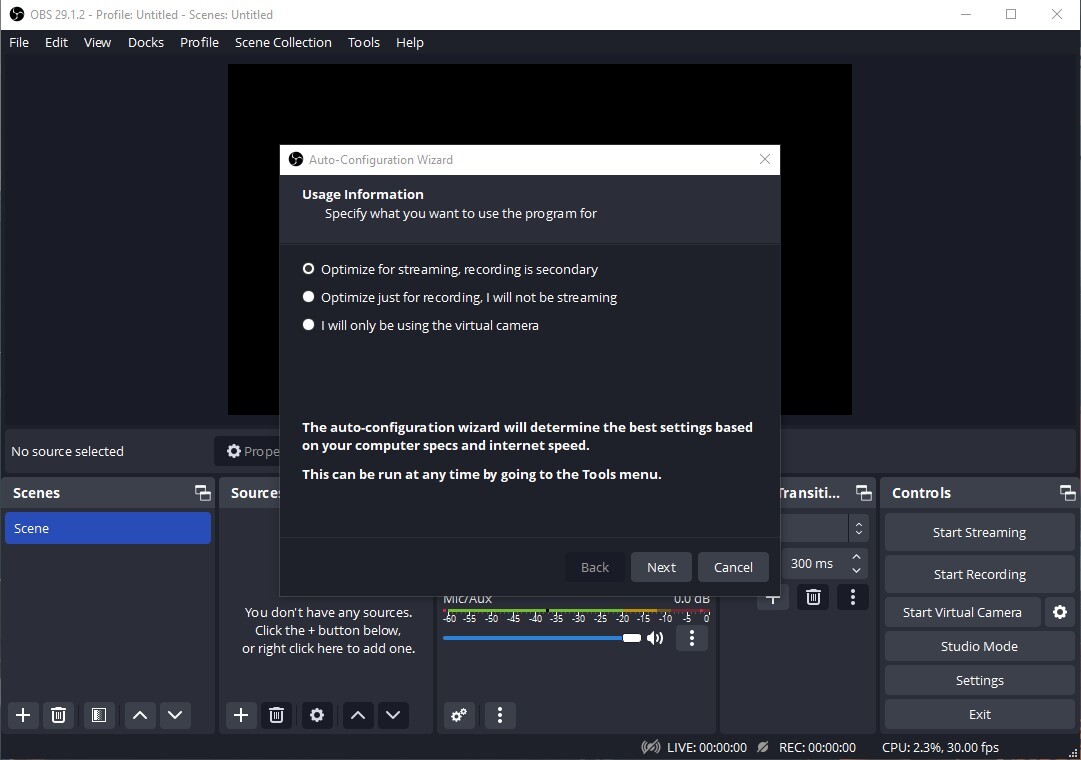
The first step to in setting up OBS is deciding what you want to use it for. A pop up menu will let you select between options that prioritize recording, live streaming, or exclusively (camera-free) screen capture. Select streaming, and then you will be prompted to link your Twitch account or stream key (which you can get from your Twitch or YouTube streaming account). Once you do that, the Auto Configuration Wizard will work its magic. After that, it’s just a matter of setting your scenes (which we’ll cover down below) and going live.
However, if you’d like to handle the setup process manually, rather than using the automatic feature, here’s what you should do. Head into the program settings page in the bottom right of the main program’s main page — it’s right above the Exit option, or in the File menu on the top left. Start with the Output menuIt’s here you’ll set the bitrate for your video and audio, along with your encoding method and recording options. Since Twitch is the biggest live streaming platform, let’s focus on what you’ll need for that.
As I mentioned up above, the highest audio bitrate Twitch supports is 320Kbps, which is a negligible bandwidth drain, so use that setting. Video bitrate is a little more complicated. Generally, you want the video bit rate to be as high as you can get it. Twitch supports up 6000Kbps for your video bitrate, but you shouldn’t just start at that and work your way down.
Video will take up the lion’s share of the bandwidth you use when you stream, so it’s important to know how fast your internet is —specifically your upload speed — and to leave room for your computer to do other things. If you’re streaming an online game, that’ll still need some of your bandwidth. If you have roommates, they probably won’t appreciate you hogging all the internet as well. Run an internet speed test to see what your upload and download speed is, and try to aim for no more than 75% of your upload speed.
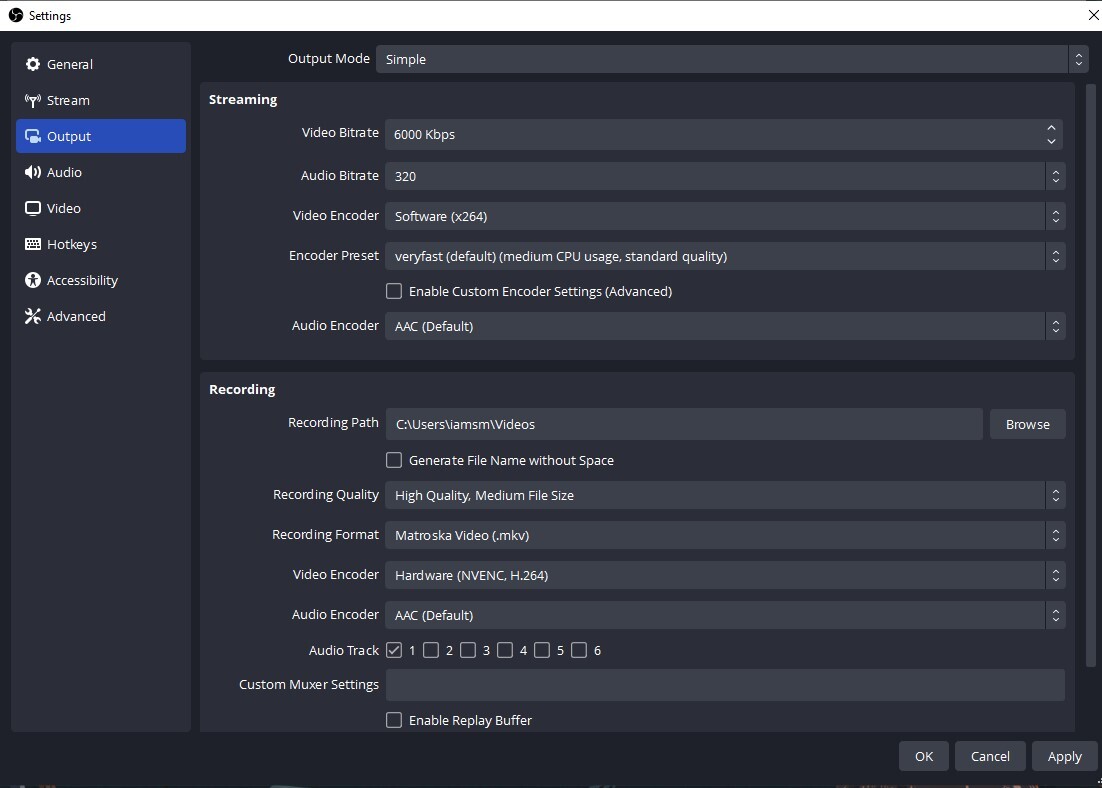
If your upload speed is fast enough, try setting your bitrate at 6000Kbps, Streamlabs OBS will send notifications if you start dropping frames and you can lower the bitrate as needed. If your upload speed is more modest, just aim for around 3000Kbps, that’ll be plenty for streaming at 720p at 30fps, which will probably look fine on most phones. Streaming at higher than that requires a faster connection. Streams at 720p are pretty common on Twitch, given how small camera windows typically are and how much less detail many video games have compared to live video, however 1080p has definitely become more standard as the years have gone by. If you’re having trouble reaching that, it might be time to think about a new internet plan.
Once you’ve set your bitrates accordingly, make sure you’ve set your encoder to x264 if you’re not using a capture card. This will make your CPU handle the work of encoding your stream so it’s lightweight and easy to upload live.
Moving into the video and audio settings there’s not a whole lot to do when you’re starting out. The audio settings for both versions of OBS we’re looking at don’t need much tinkering. If you’ve got a mic plugged in, the programs will automatically recognize it and start treating it as mic input. You don’t need to change audio channel settings (unless you actually want mono audio, for some reason). However you can set default audio sources here, so OBS knows which to grab for different scenes (otherwise you can just do it manually when you make a new scene).
Similarly, video settings don’t need much tinkering. Just make sure the output resolution and frame rate are set to what your upload speed can handle — in this case 1920 x 1080 — and make sure the frame rate dropdown is set to Common FPS Values, with either 30 or 60fps selected.
Once you’re through these settings pages, there’s not much left to do. Both programs let you set hotkeys for quick commands while streaming. This stuff is all optional though, so let’s get into actually setting up a stream.
Setting the scene
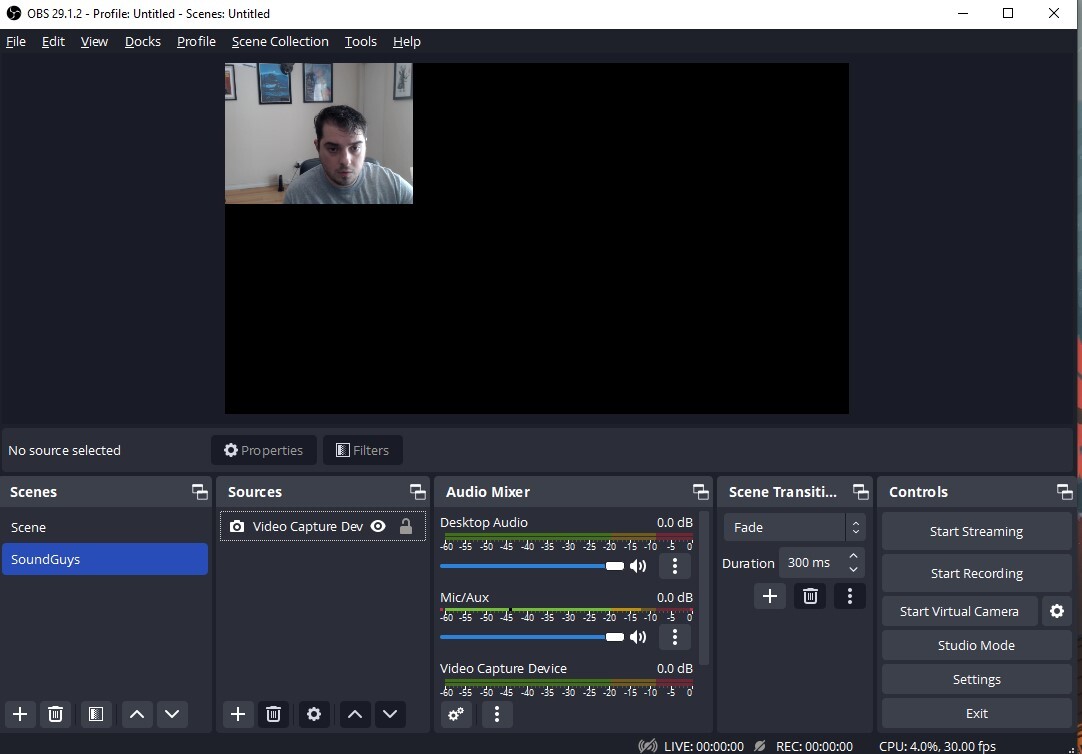
Here’s where we decide what the viewer actually gets to see. On the main page of OBS, click the + button in the box labeled Scenes. Name it how you want, then look over the box labeled sources and click the + button there too. It doesn’t matter what order you necessarily pick them in, but you want to end up with an Audio Output Capture, Audio Input Capture, Video Capture Device, and Game Capture source selected.
The Audio Output Capture will grab the sounds that your computer normally outputs — anything from game sounds to YouTube videos — just be sure to select whatever audio output device your computer uses (speakers, audio interface, that kind of thing). Audio Input Capture will grab your microphone sounds. Game Capture does exactly what it says, and you can set it to only pull from specific programs, or just capture any fullscreen program running. Video Capture Device will pull the feed from your webcam, and most of the time it defaults to whatever is connected, though you can change it in the drop-down menu pretty easily.
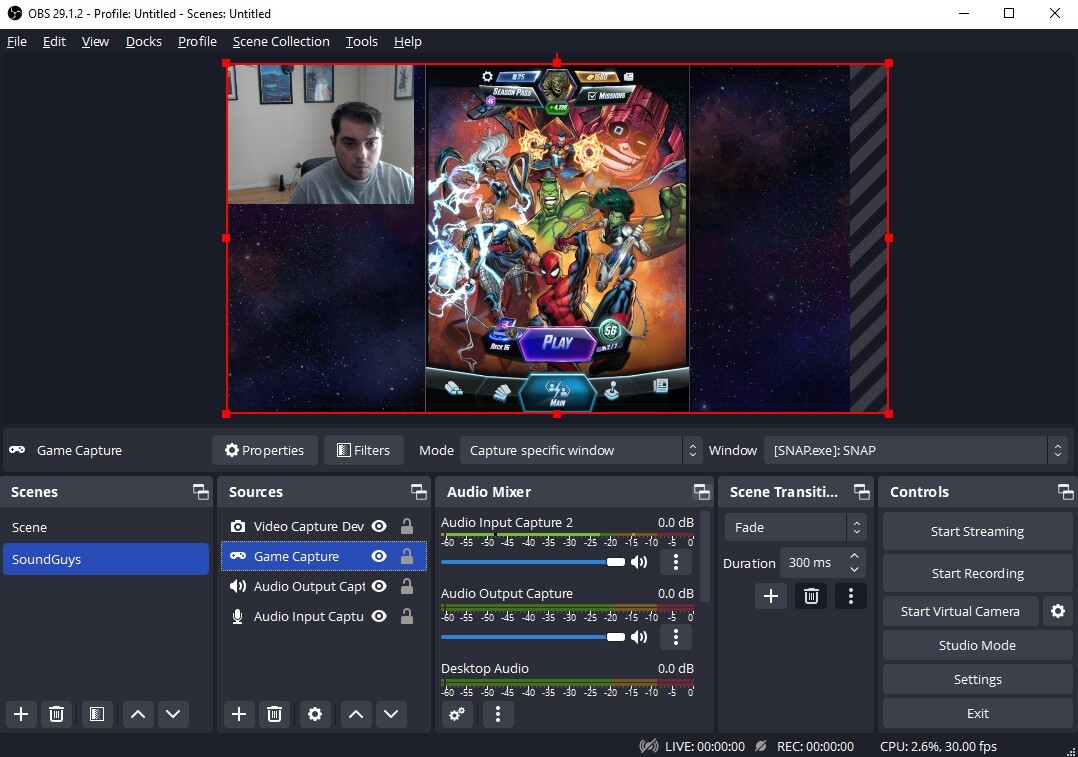
Once you have those sources set, it’s time to align them. The source menu functions a lot like the layer menu in photoshop, so the stuff you want to be seen should be as close to the top as possible. Your game capture should be the bottom layer, and video capture should be above. Just imagine everything laid on a table and the stuff you want visible laid on top of the stuff you’re okay covering. From there it’s just a matter of dragging your camera video around the layout to where you want it and resizing the window so it fits just right.
With that, you’re ready to stream — almost.
Linking up with a streaming service
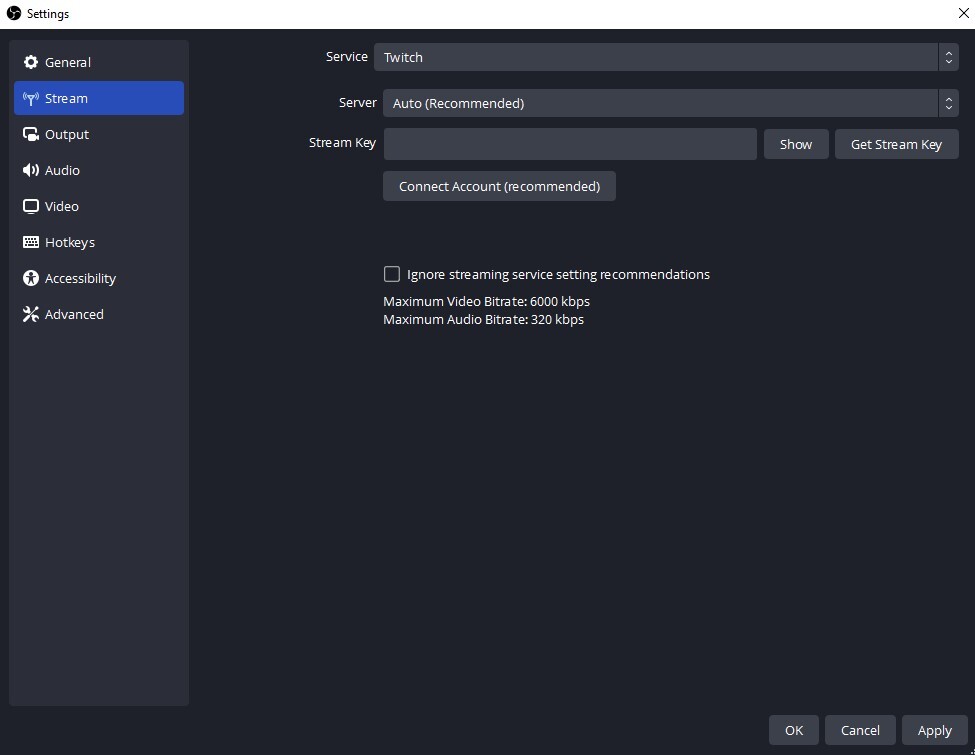
The very last thing you need is your stream key, a long generated code you can find in the account settings of whatever service with which you have an account. You can find it in the Channels and Videos page in your account settings on Twitch or YouTube. Copy that code, head back into the settings page of OBS and paste it into the corresponding box on the Stream page. If you decided to go the Auto-Configuration route, OBS will have asked you to link your Twitch account to the program already and you won’t need to hunt for a stream key—logging in and linking will do that automatically. Everyone else needs to grab it.
That’s that. You’re ready to jump, shout, hoot, and holler live on the internet when a game doesn’t go your way. If you decide to go with Twitch and find the stream isn’t running all that well, the site offers a great tool for analyzing things.
Frequently asked questions
Getting set up on a streaming service like Youtube is just as easy as Twitch. In the spot on OBS where you input your Twitch stream key, simply enter one from your Mixer or Youtube account. The interfaces on the sites are a little different, but that’s all you have to do to get OBS pointed at another service.
You don’t need to spend a lot for a decent mic. However, if you’re really cash strapped, the first thing to figure out is your setup. A nice mic won’t help in a room with an echo. Get your environment under control, and worry about the mic after that.
There are a few ways to tackle this, but the short answer is yes.
If you’ve got a mic you already like, you may only need to adjust the position. Try to move it so the target pickup area (ideally where you mouth is) doesn’t include your keyboard, and if you can, move the mic off your desk (or whatever surface you’re typing on). This will cut down on any vibration sounds from typing coming through over the microphone.
After making those adjustments, it may be worth kicking the sensitivity down a bit. Software like OBS, Discord, and even just the Windows microphone settings will have options for this. The bottom line is, your voice is probably louder than the clacking of your keyboard, so finding the right threshold between your spoken volume and the sounds of your accessories really just takes tinkering.
Plenty of microphones have noise rejection features, too. Most decent gaming headsets (including the ones we linked in this post) will handle this kind of noise pretty ably, as will microphones like the Elgato Wave:3 and HyperX Quadcast S.